This essay is not about 'stone setting', it's about the beautiful stone.

This diamond was not shaped on a 'polishing wheel' but Nature did all of the hard work.

This newer word for your vocabulary is "Cleaving", this refers to the fact that the stone-cutter will split the diamond into 2 equal-sized stones.
This naturally shaped stone will be fashioned into either one large "Oval Shape" or what the cutter feels it could be. The diamond cutter wants to get "more diamond for the dollar" as wasting any diamond is not the cutter's to-do list.
Diamonds of this enormous size must be 'internally examined' it must be free of inclusions, or weak spots. If during any intense heating during the 'polishing' the stone could crack from these internal defects. An excellent gem-quality stone must be free of any defects.
To examine any large diamond could take weeks to locate the structure or veins in that stone. The diamond polisher will ink the route to start his stone cutting.

Imagine if this diamond crystal was beside a ring, how many carats would the stone weigh? When I retrieved the photo from the Internet, this carat weight was an estimated 4.0 carats.

All diamond polishers have to follow this rule of making each stone look like this diagram. If the stone doesn't have the correct angles then that diamond will never look good.
I'm sure you've heard of the names "Colour, Cut, Clarity and Carat weight". The 'CUT' is what makes this diamond look beautiful, if the angles are not laid out in the polishing process, the craftsperson will have to redo the cutting. By doing this, much of the diamond is wasted and the stone will lose more of its total weight.

Every gem-quality diamond needs to be put through a spectacular process of shaping aka 'polishing'.
.jpg)
In this photo, you can see how the 'gem facets' are created 'one facet at a time'. In today's technology, even diamond polishing is done automatically. This is needed especially for smaller diamonds.

These triangular-shaped transparent stones were not yet shaped. These were found in the ground just like these. It is the craftsperson, aka 'diamond polisher' to bring out the lustre of each stone to adorn a piece of fine quality jewellery.

Many decades ago it was 'normal' to remove the Culet of every diamond. Because of doing this, the diamond looked literally transparent. But thankfully times have changed and the Pavillion now looks complete.
The name of this cut is now a "Modern Cut" before it was named "Old Mine (Mein) Cut, or Cushion Cut".
Have you ever heard of a "Rose Cut Diamond"? The diamond has its shape to represent a flower with only half of the diamond being used. These particular stones were 'hand polished' and not with modern machines as of today.
You can observe the high "Table and Crown Facets".
What is a 'Single Cut' diamond? It is a diamond with only 8 facets above the Girdle and 8 more facets below.
A 'Full Cut' diamond has 57 facets above and 57 facets below the Girdle. .jpg)
.jpg)
Here are 6 stones with facets being carefully cut in stages of development, until the last stone on the lower right.


These are naturally coloured diamonds and not 'colour enhanced'. As you can see diamonds like these have been acquiring their colours after being subjected to high pressure and heat for only 'billions of years'.
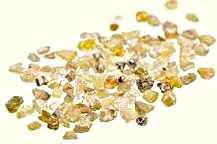
This is what a diamond looks like just after it's been removed from the ground.

This paper sleeve of diamonds is estimated at .25 points each. With these colours, these stones cannot be crafted for jewellery, but will be further used as "Industrial Diamonds".


These are diamonds, but not the gem quality that we are familiar with. Every diamond has its own purpose in our world. As these are mottled and full of inclusions, they can be used mainly for 'industrial purposes'.
'Industrial purposes' means grinding wheels, construction and fabrication uses. If an abrasive steel cutting wheel is used, the steel becomes hot and quickly loses its sharp cutting power....but not a diamond!!!

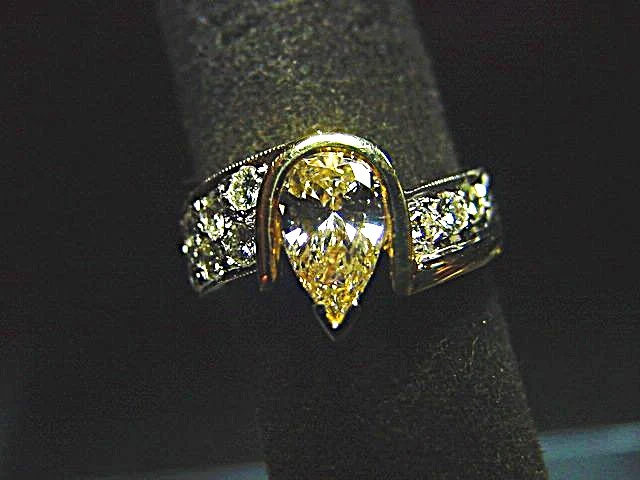
These two diamonds 'could' be used in jewellery' only if the manufacturer decides to use them as a 'pair of yellow Triangular shaped stones' on a ring.

From the 2 diamond crystals from the above photo, TWO Triangle diamonds were created. (please excuse the off-colour)


.jpg)
.jpg)




.jpg)


.jpg)