In this spectacular essay, I will explain every step of the process, from which graver to use. Then further how to carve the metal into preparing the very important 'mini-claws'.
The mirror image was projected on the line cutting by the highly polished Flat graver #40. There is no possible way that these metal cuttings were fashioned by a rudimentary basic graver. This is not an easy technique to master.
No 'CAD' was used in this essay, also known as 'Computer Aided Designing'.

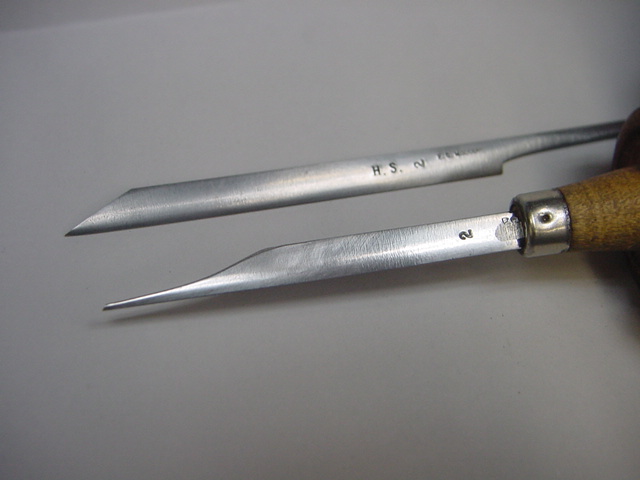
I discuss only the basic tools, namely the Onglete graver number #2. At specific times a number #1 might be seen as well. You will notice the fine point of the graver as compared to the original & untouched 'tool supplier' blade.

Here is a #2 Onglette graver that is sharpened on the right side, it aids me to cut only in delicate situations.
.jpg)
.jpg)
A Flat graver of #40 width is sometimes used to complete this metal-cutting process.


All of my metal-cutting is done prior to any stone setting. If the stones were set first, I just couldn't achieve a clean-cutting. This process is known as "pre-cutting".

All of the metal cutting in this creation was done long before any stone was set. My Onglette #2 graver is so essential, without it, I couldn't design this 'star'.

Once the 'beads' are formed and pushed over the stone every bead must be burnished smooth. I usually "Milgrain" the edges to emphasize the pattern.


This Milgrain edge highlights the edges as seen in this photo.

This is my "Beading Tool", it has only one purpose and that is to move the beads 'against and over' each stone. This tool was fashioned from an Onglette #2 graver, and these cannot be bought from any tool supplier. All it takes is to 'round the point of the blade' on an Emery Paper.

When I learned this detailed pattern it was so long ago that many of you readers were not born yet. This pattern was initially cut on a gently rounded band.


Once the 'beads' are formed and pushed over the stone every bead must be burnished smooth. I usually "Milgrain" the edges to emphasize the pattern.


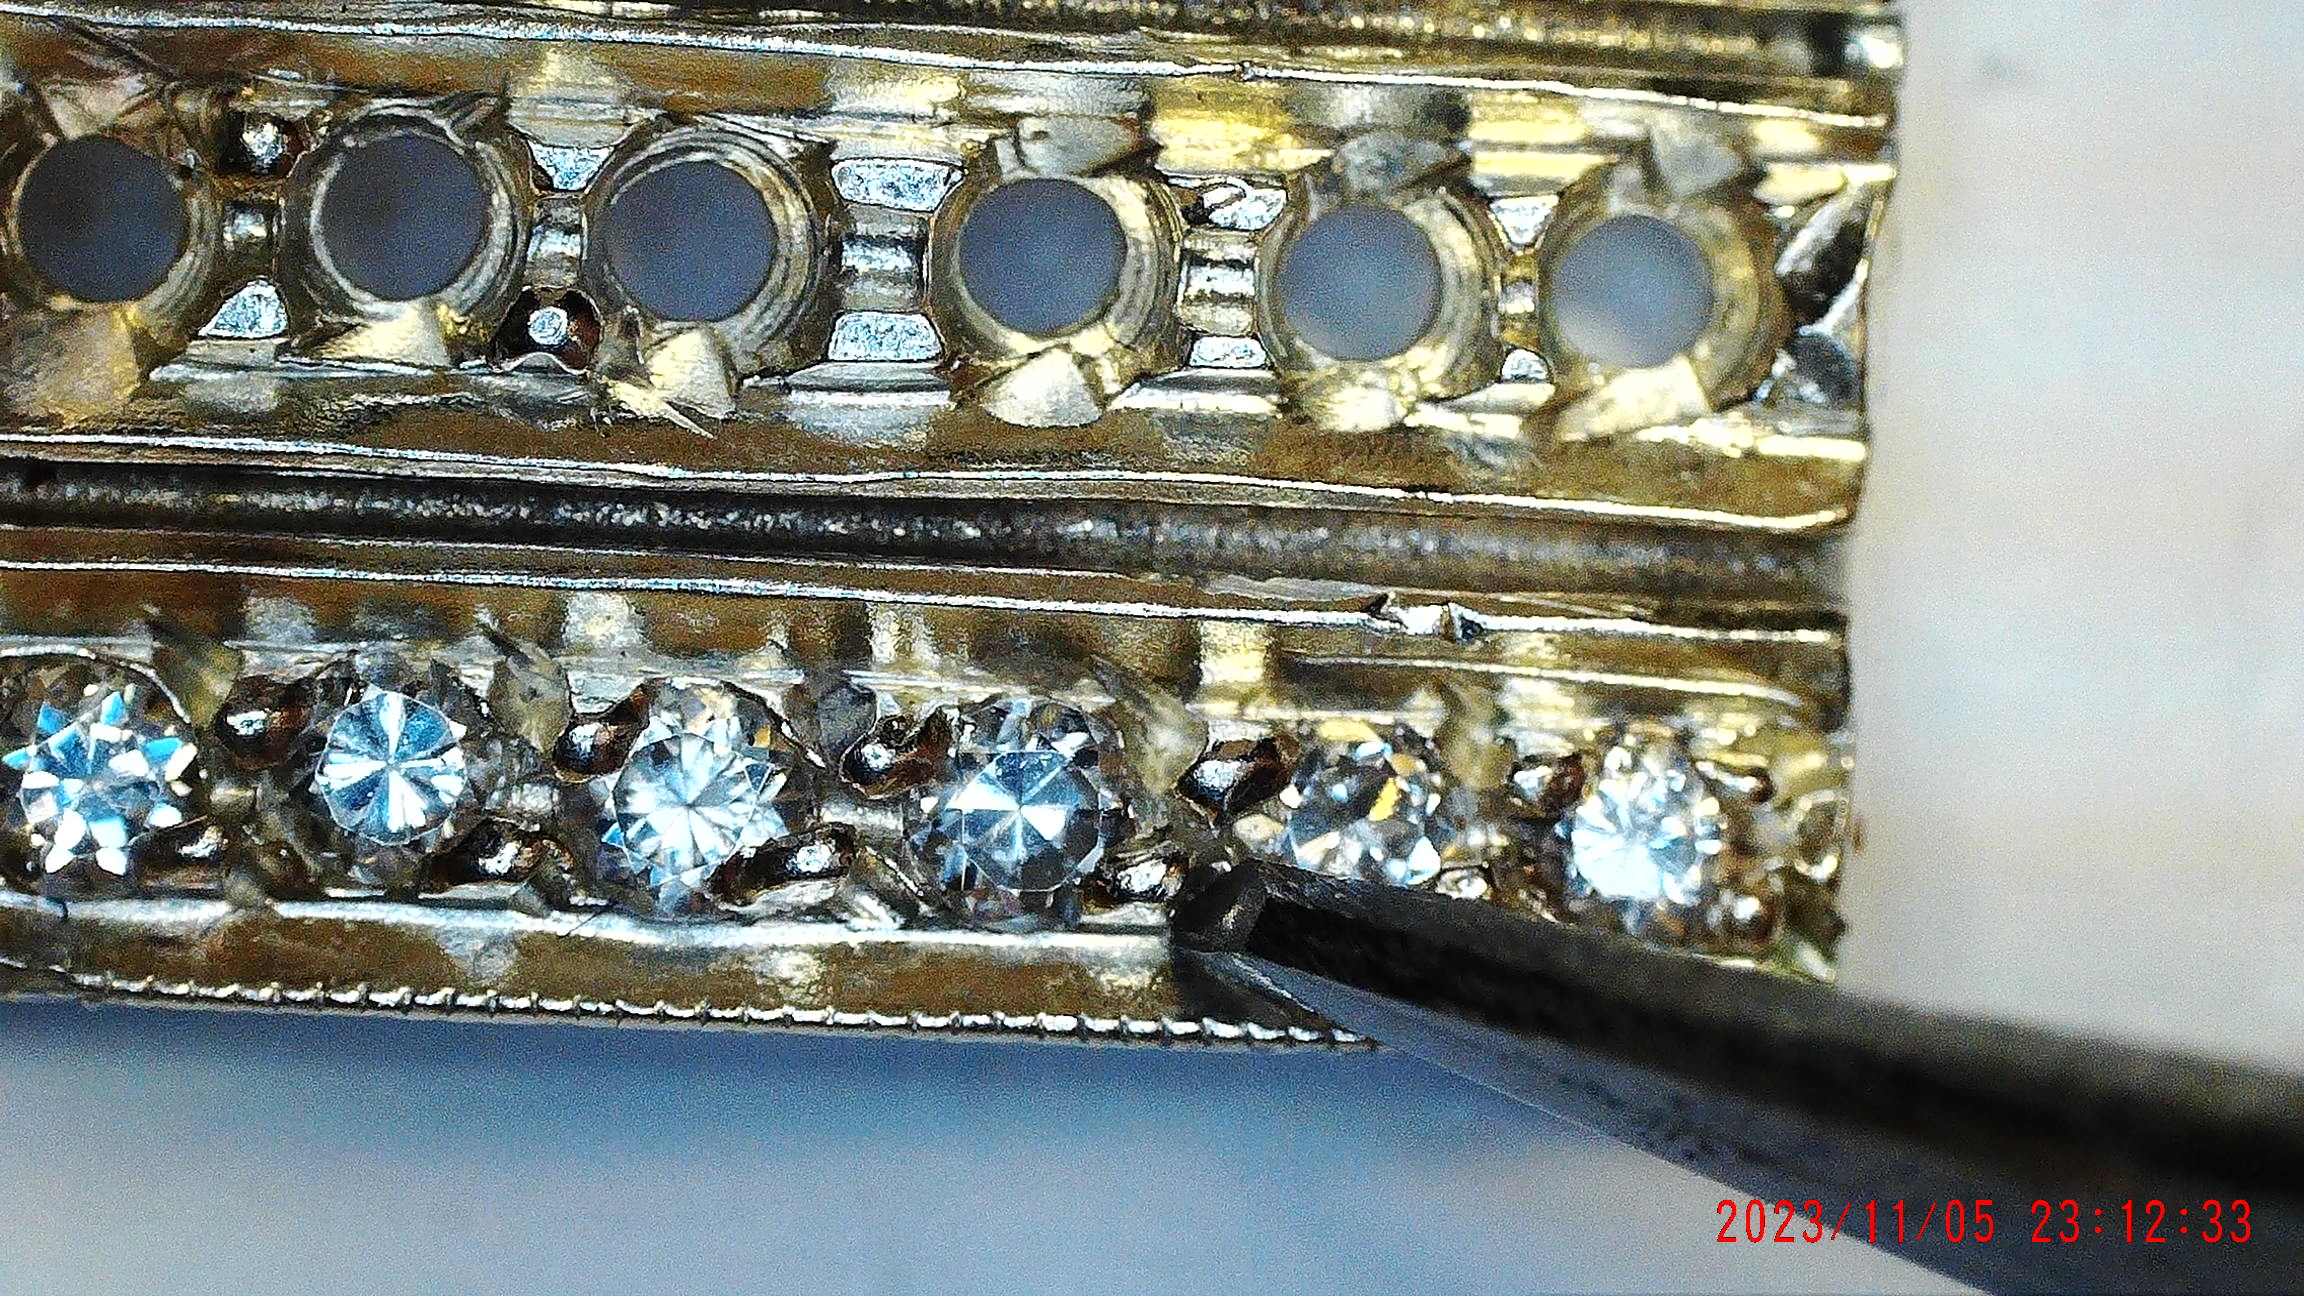
Here you can see the positioning of the Beading Tool sitting against each bead.

Absolute care is needed in metal cutting, why is this? It is essential not to have any 'slipping' of the graver #1 as seen here.
These 'slips' can be corrected with a Triangular file #4/0 to repair any minor metal cutting errors.


In this photo, you can see "shared beads" being used extensively then afterwards the "Bead Burnisher" being used to smooth each bead tip.

This photo displays my collection of Bead Burnishers that I will use once the stones are set into the 'mini-claws'.
.jpg)
I use a small round #002 bur to cut (deep) into the metal thus starting to shape & design the mini-claws. The deeper you cut, the taller the claws will be.

In this photo, I cut just as deep in the other direction and now you can see the starting of the '4-claws' being created. Interesting process isn't it?

I 'coloured' the silver metal just to show the image being used. I again, use the round bur #002 in between the two lines, then again using my Milgrain tool.

Don't be afraid to make your 'separating cuts' too shallow, MAKE THESE ROUND-BUR CUTS DEEP.


These are my favourite #002 round burs, these are my "claw designing burs". If you choose a #003 round bur, the results will be just mediocre in the thickness of the new claws. (I'm writing from personal experience.)

In this close-up photo, you now observe where each round bur is positioned.

These 3 lines are the beginnings of mini-claws. The only blade that will initiate these mini-cuts is the Onglette graver #1, please do not attempt any wider blade.
After numerous graver cuttings that are 'deep and deeper' still, you are getting the idea of how these mini-claws are starting to take shape.


These 3 lines are the beginnings of mini-claws. The only blade that will initiate these mini-cuts is the Onglette graver #1, please do not attempt any wider blade.

After numerous graver cuttings that are 'deep and deeper' still, you are getting the idea of how these mini-claws are starting to take shape.
There are three words for you to learn. "Practice, practice and practice".

This is my Onglette graver #1 with a 'moderately polished' graver tip.

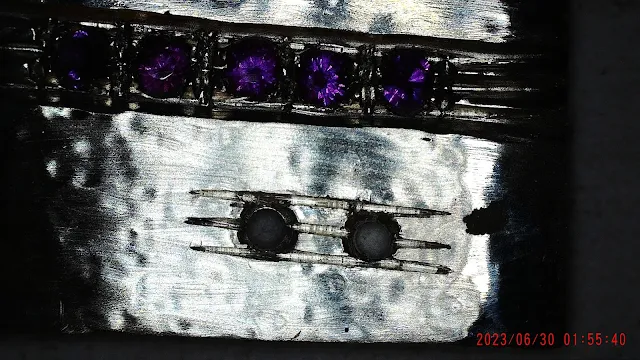
There is an error here! The two stones were drilled too close together thus leaving you with minuscule and poor chances of achieving well-defined claws.


Always plan ahead where your new holes will be drilled.

If your holes are drilled too far apart, then it's nice to have extra claws fashioned as shown in this photo.

If your holes are drilled too far apart, then it's nice to have extra claws fashioned as shown in this photo.


This is my favourite Onglette #1 (thin) graver. The HSS signifies that this blade has been 'heat treated' to be a long-lasting graver, "High-Speed Steel".

No comments:
Post a Comment