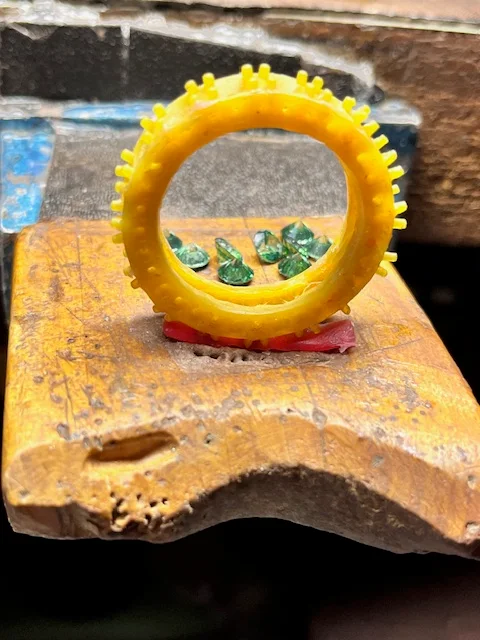
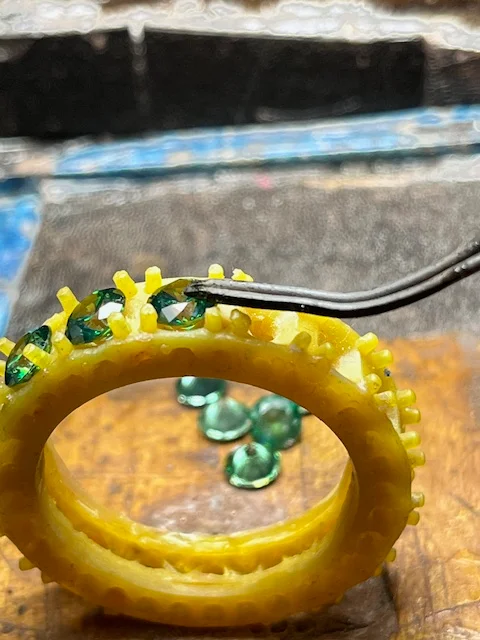
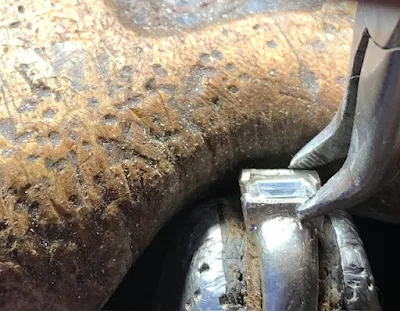
I've decided to number my photo-instructions, instead of rattling off lines of hard-to-understand text.
================================
This unusual pin was created with the assistance of a "Computer-Aided Design program. Aka (CAD). It was a culmination of a "South American pearl" and previously owned (Princess-Cut) square diamonds. My client wanted a new pin to wear with this 'one of a kind' pearl; she was ecstatic with the results.
=============================
1) In this photo, there are an estimated 4 sizes of diamonds.
2) The number of diamonds in this remarkable bracelet totalled an (estimated) 965 stones, which was an amazing number of gemstones. (I had to first decide which stones went where.)
3) How were these stones set? I used only '2 mini-claws' per stone. Every pair of '2 mini-claws' held only one diamond.
4) The gemstone configuration was that these 2 stones were held in place 'corner to corner'. None of these mini-claws were 'shared' with any other stone. I wanted 'stone security' at all times, especially during the setting process. Each link contained 22 diamonds; you can do the calculations for yourself.
5) I had to clear the 'Culet facets' of all the diamonds, but not to drill through the metal.6) As for the actual stone setting, I had to maintain a 'high degree of strength' for every stone. This was important in the eventual stone setting process.
7) Not one claw was allowed to be damaged during the 'Culet Facet' preparation & cleaning.
8) How were these bracelet and necklace items to be polished? The items were placed in a 'Magnetic Tumbler' before any stone setting.
9) Every section of this collection of jewellery had to be pre-polished. Only a 'light ROUGE polishing' was to be administered after the stone setting.
10) The main problem in pre-polishing was that NO MINI-CLAWS WERE TO BE ALLOWED TO GET DAMAGED. This was the main reason for 'Magnetic Tumbling'.
11) If I used any 'cloth, polishing wheels', this would have easily ruined hundreds of these precious mini-claws.
12) How did I hold these links for the delicate gemstone setting? The answer was quite obvious, my survey of jewellers suggested that I avoid any metal clamps, as there would have been problems in the 'gripping' of the extremely delicate links.
13) My jewellery friends & I decided upon using shallac as the main source of 'holding a few of the links at any one time'.
14) Where did I start the stone setting layout? I began working on one row at a time.
15) If there were any larger diamonds to be set, I allocated these stones to the corners of the bracelet 'plates'. 'Stone placement' was also a design aspect in Diamond Setting. Thankfully, there were not too many oversized diamonds.
16) I chose to keep all of the 'bracelet diamonds' separate, as these were the smallest stones in this immense collection.
17) It was my job as a 'Designing, Diamond Setter' to keep all of the stones in a uniform layout. If some were larger than the others, I had to decide which 'grouping of stones' went where.
18) If you gave me a selection of diamonds, surely the group of stones would look like this. There would be at least 6 diamond sizes to sort through.
This 'simple as it looks' setting project seen in this essay was neither simple nor easy. The planning of every diamond that was to be set took a considerable amount of time & labour. If you are unfamiliar with this stone setting program, DON'T TRY IT. SPEED IS NOT THE WAY TO WORK ON THESE IMMENSE PROJECTS. You are looking here at well over two weeks of work!!
=============================

.jpg)


.jpg)
.jpg)
.jpg)
.jpg)
.jpg)


.jpg)
.jpg)
.jpg)
.jpg)


.jpg)
.jpg)
.JPG)
.JPG)
.jpg)
.JPG)
.JPG)

.JPG)

.JPG)
.jpg)


.jpg)
.jpg)


.jpg)


.jpg)


