The answer to my opening title is quite simple, it's because it was readily available in our local tool supplier and I NEEDED IT for my 'online training'. Here are many examples of why I used it for the past many years.
This fantastic Digital Microscope is just a phenomenal gem-setting device. It can take me where no 10x power loupe can go.
BTW, the stone being shown below is 1.5 mm in diameter.

I can quickly inspect if any metal beads are not covering any stone.
I can see 6-7 stones at once.

Originally the Heart-Shaped pendant was only a flat surface after casting. My Onglette gravers and I made this engraved "2-Bead" pattern.


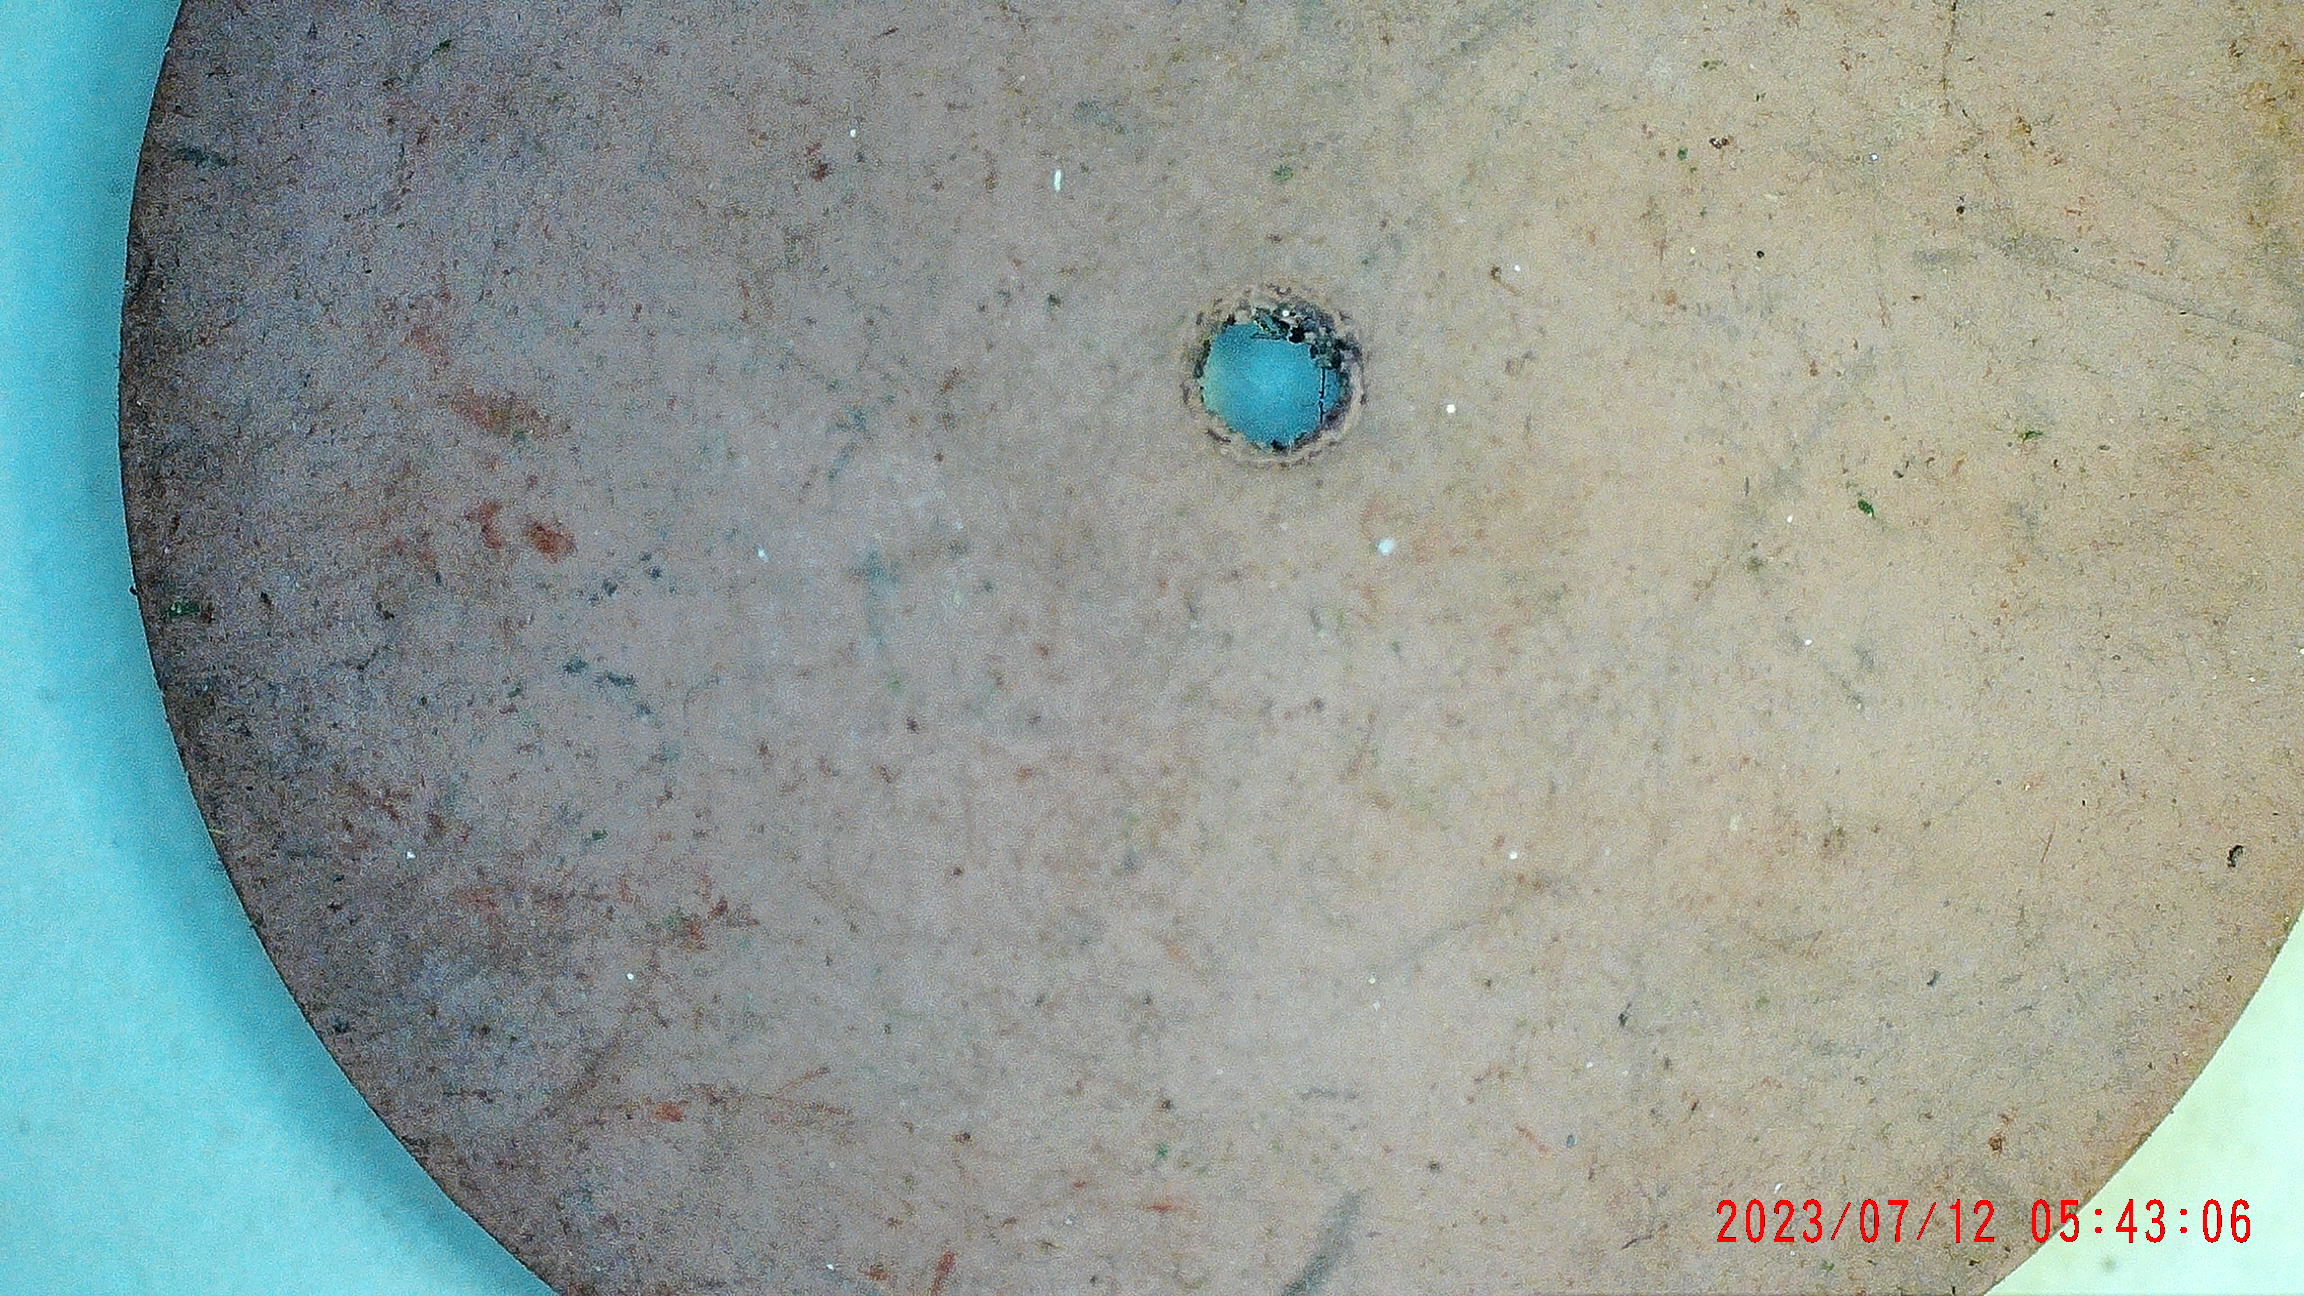

What seems to be a small area on a completed "Princess-Cut" stone, here is my filing that I just completed. YES, I will examine my filing with my Digital Microscope every time that it's needed for closer inspection.

There are diamonds here at 3.0 - 3.5 point sizes. I can see that one stone is of a 'brown' colour. This one stone could have been set, but with my scope, I avoided the setting process.
In my examination of gemstones, I can now see 'inclusions, or defects' in some of the diamonds seen below in the assortment of stones.

This 1/2-carat partially cut diamond shows the preliminary facetting that is taking place.

The range of diamond sizes is from 2 and up to 10 points, and showing all colours & qualities.

This is my toothbrush that I use to remove any metal particles from my work.


This photo shows just how valuable magnification is good for gemstone setting and even a 'watch-maker/repairman.

This is just another collection of diamonds.

These are my new and 'untouched' #0 and #3 Onglette gravers. They have widths of 0.33 and 1.74mm.

This is an up-close photo of a regular ballpoint pen.

This a diamond of 0.50 carat in size, how do I know? This is the diamond that my Father polished in Belgium, circa 1934 A.D.
He didn't finish it, as he wanted to let other stone polishers see the unfinished "Faceting" that will start after the "Girdling" process.

In this second photo, you can very easily see the starting of the Facetting. The Diamond Facetting is now being seen on the "Crown and Pavillion" facets.

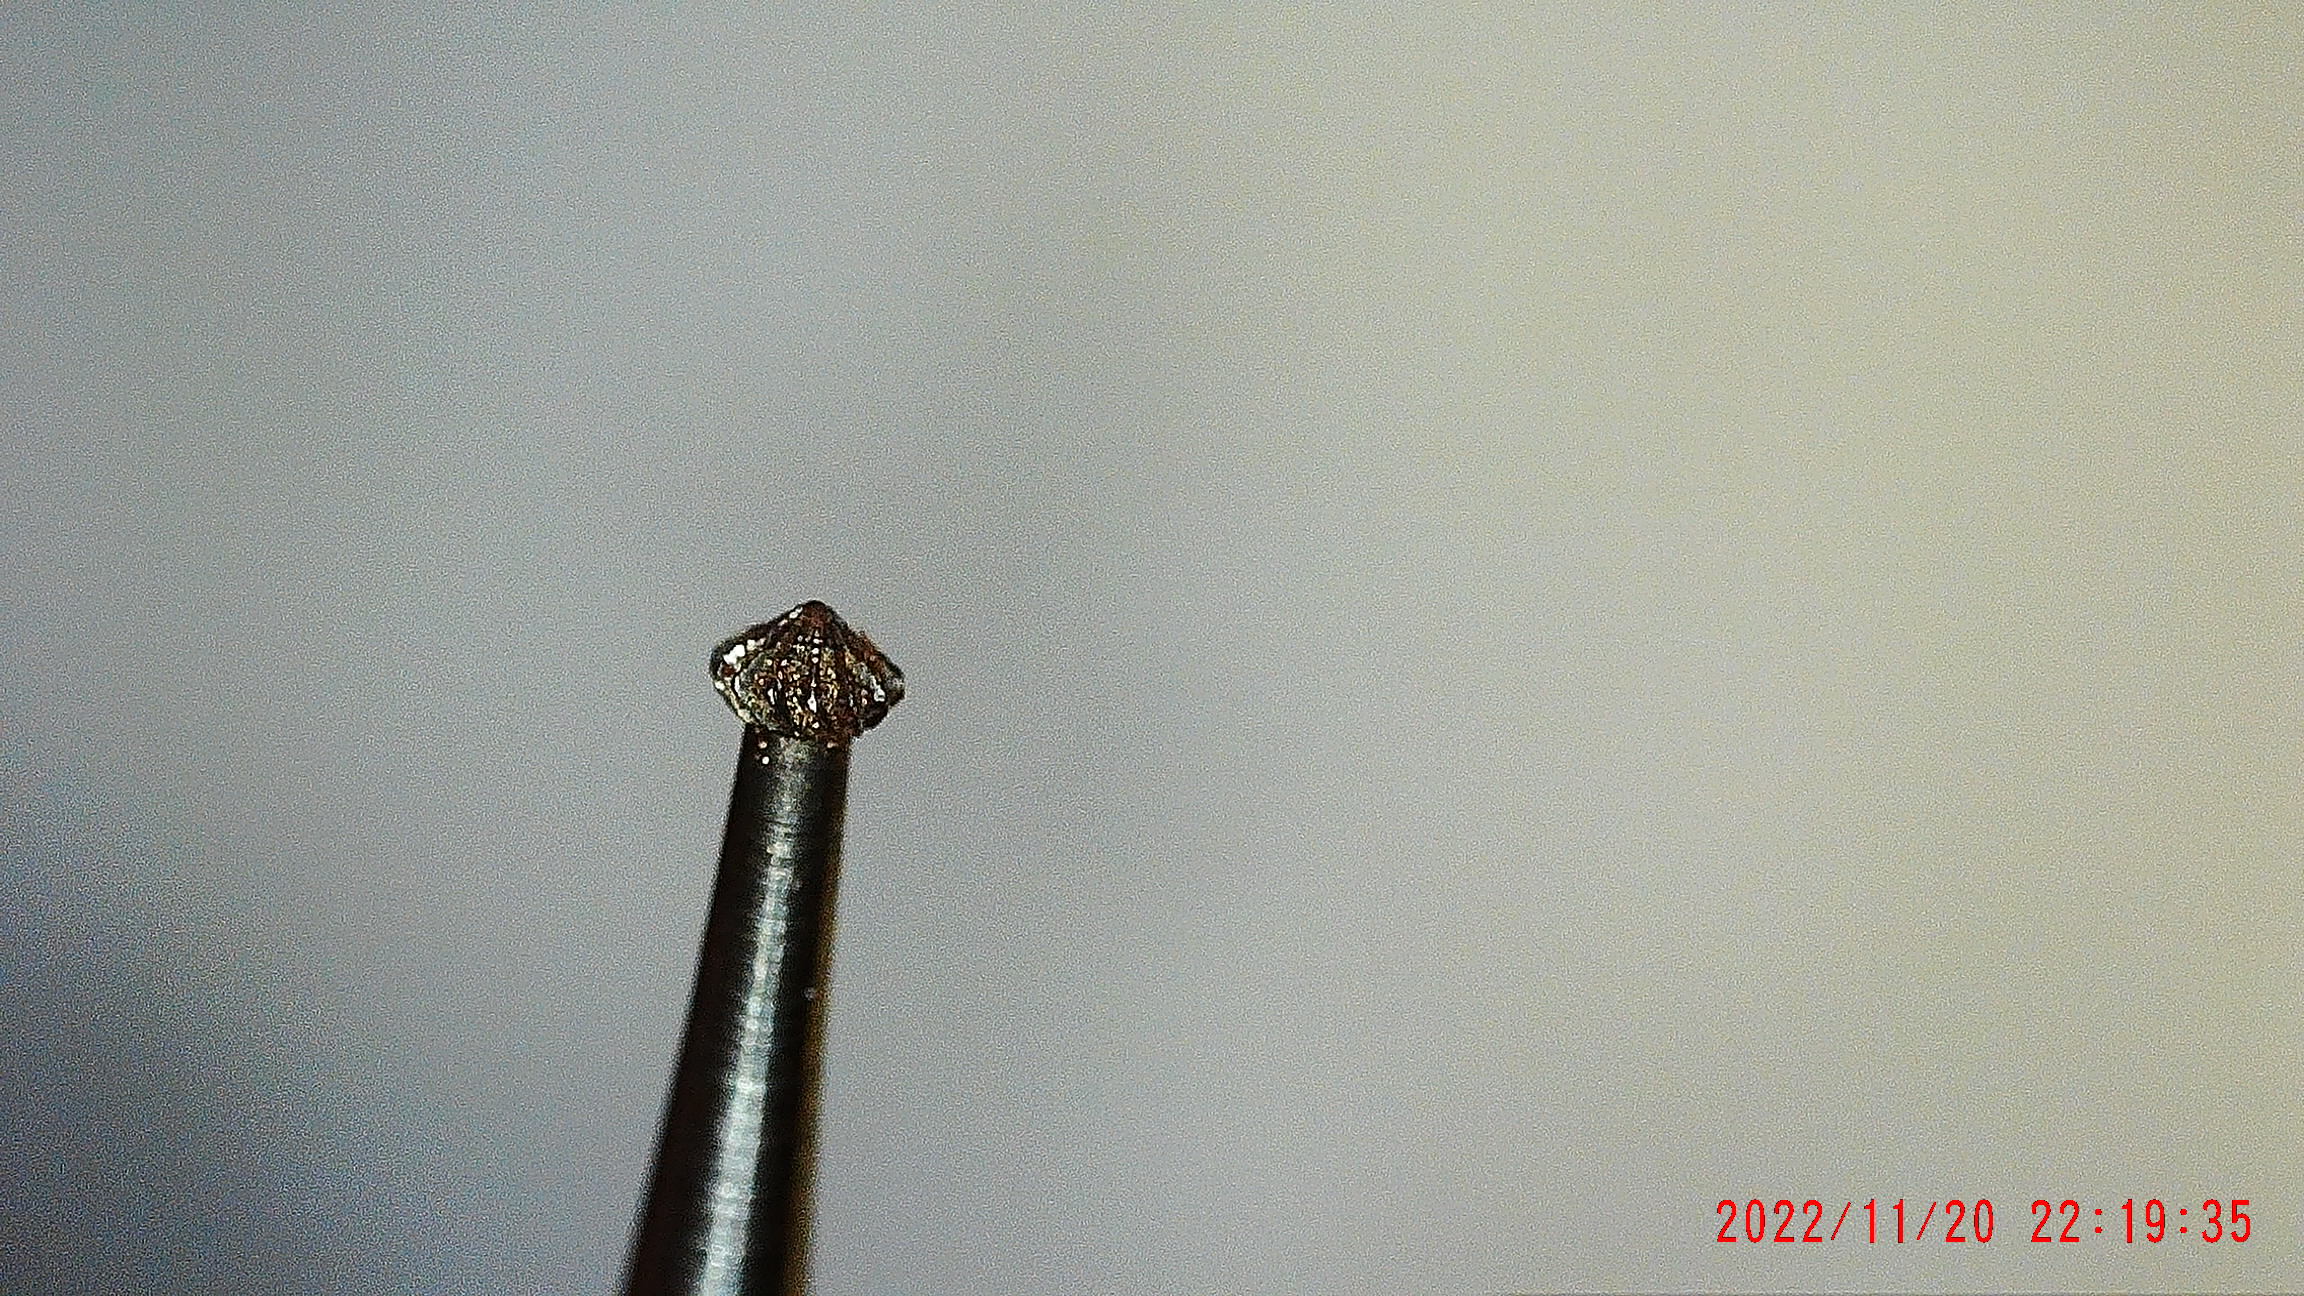
My 'specialized' microscope displays the 'mediocre' sheen on the Onglette graver.

This picture demonstrates just how important it is to have excellent diamond-setting tools. The angles were created with an oilstone and a 'bench-grinder' that can be bought in any hardware store.

In this particular photo, you can see an improvement from the many polishing papers. I will use an average of 6-7 grades of paper to achieve these results.

As I am a perfectionist in my tool preparation, this will give me equal quality in my diamond setting. I do not use any machine to assist me in my metal carving.

This blue Princess-Cut stone is 6mm square. The claws measure a mere 1.54 mms in width.

With my Digital Microscope, I can almost see the image of my face on the cutting side of the graver.

Close examination of the 'front face' of the graver is not required. I will be using the right-side edge to do the metal cutting.
 |
I always inspect the Bright-Cut inside rim around the stone. With this microscope, I can inspect all of the finishing cuts.

With my 220x power magnification, I am now able to view various 'edges' around the many beads. Those 'edges' were caused by a small Bead-Burnisher.


These teeth are badly worn and only under this 220x power magnification will these problems be seen.

This is also a HSS cutting bur but it is so badly in need of being repaired, I chose not to, as I can purchase another bur and save my time. I wouldn't have resolved the problem if not for this microscope.
I can now closely examine the CAD-created burs and check for any errors.

When the simple 'Bright-Cutting' around the inner edge has been completed, all remnants of metal MUST BE REMOVED.

In my estimation, a 10x power loupe is nice, but this Digital Microscope is better as it saves the images seen and put onto a USB.


This watch's movement measures only 10.33mm x 14.25mm or the length of my thumb-nail.

This Platinum watch case was last worked on "6/3/65" or June 3rd, 1965.

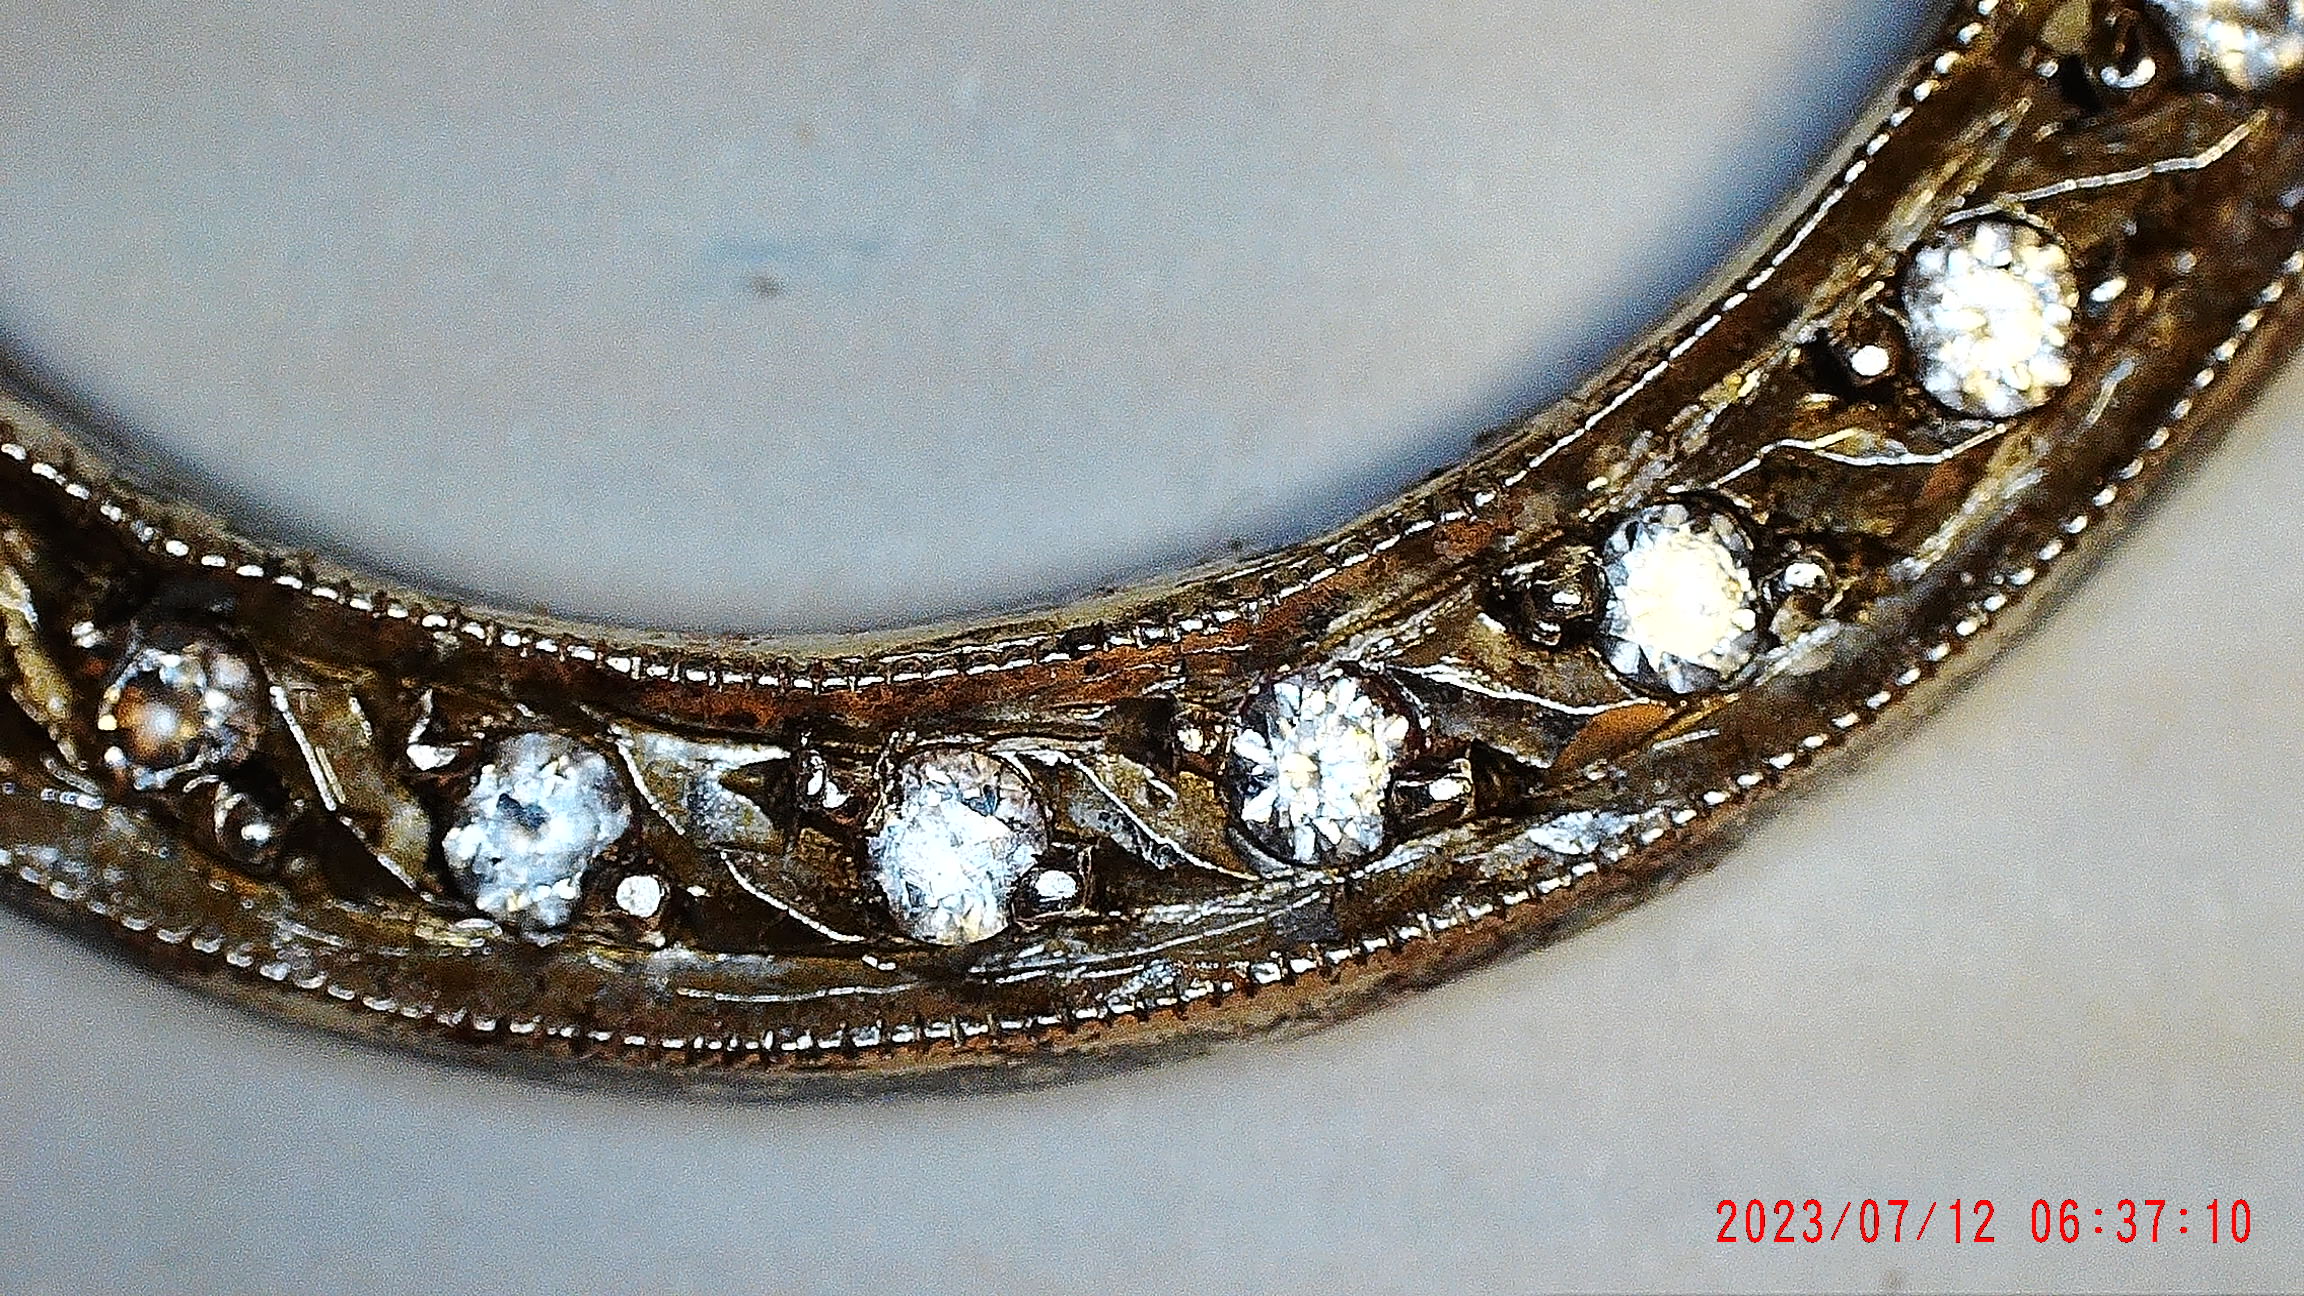
This bracelet was assembled in 1963, my 10x power (handheld) loupe wouldn't 'save' the viewing. This microscope did it for me with no questions asked.

I can see that one or two beads are not against a diamond. Can you see which ones they are? This photo was taken at the highest magnification of 220x power.

For a quick review of this microscope.
The maximum power that it has is about 220x power which is stronger than the basic 10x power loupe. With this apparatus, I can download any of my pictures and transfer them to my 'three computers'.
This USB module has a capacity of 128 GB, which is more than enough for any of my writing needs.


I can (today) even buy 256 GB at the same size as the 128GB USB.


.jpg)
This 220x power magnification for me is 'beyond words'. I can view any discrepancy in my Bright-Cutting or make sure that my 'beads' are over the stone.

I put my Onglette graver under the lens and instantly saw the full lettering on the side of the graver.


This microscope just fits easily under my bench top. For me, it's another gem-setting tool.
When not in use, I can just put it aside and further under my bench. This is so handy, different from the 'insanely large and expensive' scopes being on sale these days.

At 220x power, I can easily view the Bright-Cutting and the Bead-Setting with no difficulty.

I can as well adjust the illumination before taking any photograph.
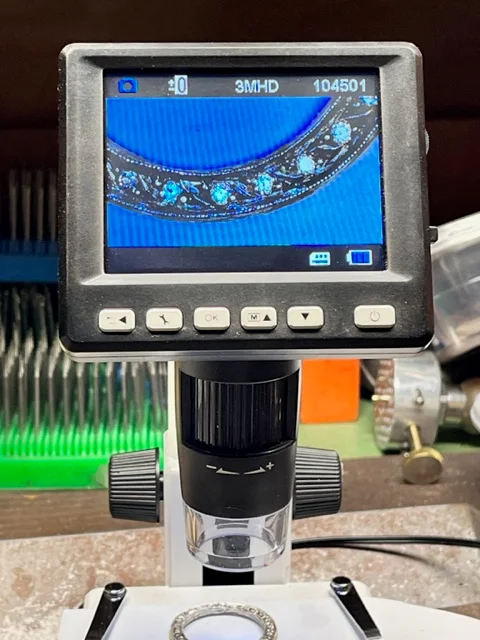
With those numbers being shown on the right, you can see that I've been very busy taking photos, agree?


I hope that you, the reader found this Digital Microscope worth your time reading about it.
Gerry Lewy "gerrylewy18@gmail.com"