In this essay, I'm showing what "Shared Beads" initially look like. Many of these photos explain how they are 'constructed and spaced' in the metal.
These are not "CAD" designed and created, but by using 'mini-claws'.
I'd avoid using my Onglette graver to create beads as these wouldn't be strong enough. I chose the uniform protection & strength of large pieces of metal, aka claws.

It is here that there is uniformity in the sizes of these 'strong' mini-claws.


It is your choice to apply a 'Milgrain' edge, I'd avoid this step, as it doesn't enhance the overall design.

Wherever there is a 'step' in the angles on the ring (as shown), follow it through with the metal cutting. I avoid making a 'curve' out of an 'abrupt, sharp step' design.

This completed ring shows how much time has been spent in planning each step to fruition.

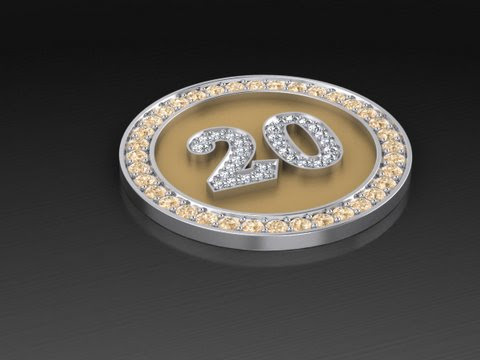
This essay is built around two separate rings yellow & white gold. The diamonds must not be touching, but allowing enough metal to create the future claws.

.JPG)
.JPG)


Once the stones have been well spaced, it is now easy to start the drilling of the holes for these stones.

These photos show the thought that has gone into 'spacing and setting'.

When the stones are finally 'well-positioned and set', it is easy that the stones are now almost touching. The whole idea is to avoid having any slivers of metal remaining in between the mini-claws.


In between each hole, there are 'little bars of metal', these bars will eventually be 'mini-claws'. I used a bud bur to create these new 'mini-claws'.


The large diamond MUST BE SET FIRST. It is virtually impossible to set the large diamond after the small stones have been set.
The first in the series of diamonds was the largest in the collection. Towards the end of the row were the smallest, thus giving a 'tapering' effect.

This large diamond was lowered into the 'split shank' on purpose, why? The idea was to give me ample metal for creating the mini-claws.
.JPG)
You can easily see how deep into the metal the stone is to sit.
.JPG)
What is the actual depth of the large diamond? I prefer to have the 'Table Facet' of the stone to be at the surface of the 'split shank'.

Initially, the first stage of drilling the holes is to have the stones well-centred and spaced equally along the diamond strip.

Once the stones have been well spaced, it is now easy to start the drilling of the holes for these stones.


This silver display plate, it shows 'what and where' the mini-claws will be situated. I will use a Bead-Burnisher to push over the metal of the mini-claws to each stone.