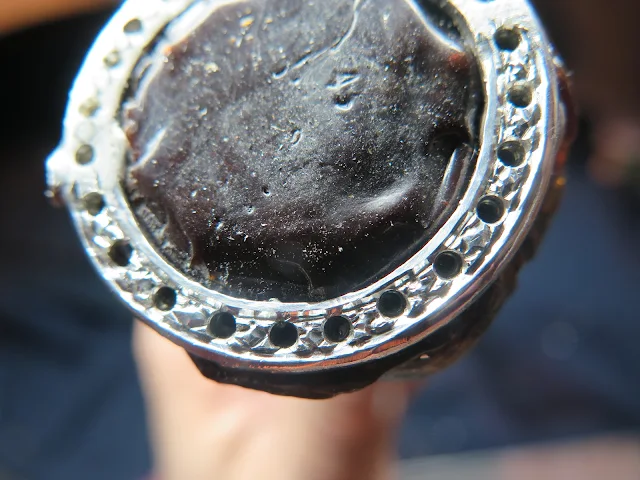
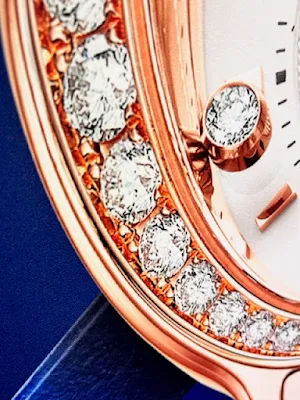
I'm very sure everyone has seen one or two stones ring together, but how about 3-stones in one ring? Each stone has it's very own 'tube-like' setting. This not one of those easy items to set as the 'Scale of Difficulty is at 9.0 out of 10'.
=====================================
The very first thing that must be measured will the stones fit into the ring? I'll line up the stones together on top of the openings. It's basically, 'what you see, is what you get'.
I'll be using a very large bud-shaped bur to clean the inner tube-like openings. Get rid of all of the metal remnants from the casting. I don't want any parts of the Pavilion interfering with lowering of the stones into the 3 holes.
For the larger center stone, I MUST use an even larger bud-shaped bur to clean out any extra metal.
In any silver or gold casting, there could be a line of extra metal in between the tube settings. How can this metal get to be removed?
The only answer is to use a either a bud or round shaped bur. I never use a round tipped file, why not?
Filing tends leave striations in the metal. I need to have the metal as clean & smooth as possible.
This line was caused by the wax-ring being removed from the rubber mold. GET RID OF THE EXTRA METAL, NOW!
I believe that a bud-shaped bur will clean the metal smoother. I will ask you to use a Tapered Pumice Wheel of #180 grit and run that wheel wherever you were using the bud bur. When you are using your bur, apply more 'downward pressure' to ensure more separation of the stones.
If you wish to use your hand-held, mini-polishing wheel to polish this area, PLEASE DO SO NOW!
Now with the HSS, "High Speed Steel" bur, start to make bearings into the metal, for each stone.
Here is an up-close viewing of this bur doing it's metal cutting. Keep the HSS bur well lubricated. As you are using this rotating bur, the metal will get sloughed off the bur. Do not overheat the bur. These larger burs are not cheap to replace, trust me.
Allow a slight angle to the bur as it's rotating. The 'slight angle' will put more cutting action where the stone will be sitting.
Once the bearing is made with this HSS, we need to make the edge of the bearing match the thicknesses of each of the stones.
Examine the width of the bearings IN EACH OF THE 3 OPENINGS, carefully.
With a round bur, make the bearings much more acceptable to every stone.
This wider bearing must never be made on an angle, as the stone will sit uneven.
What size of round bur is needed? I just don't know, but here is the method of measuring the width.
Place your bur against the Girdle of each stone...(as shown).
After some 'trial & error' you will find the solution in this novel approach on measuring stones.
When I measure a stone, I always allow a wider thickness, as not all stones are perfect in the cutting of their Girdles.
Once that the stone width is calculated, I use my 'reaming tool' and make the 3 openings even more wider. I NEED EXTRA LEVERAGE TO GET MY SETTING BURS INTO THE SETTING HOLES.
Now I'm happy, why? The 3 stones have fallen into place with no effort, or labour.
With my Reciprocating Hammer with my tapered Anvil, I'm now starting to do the hammering.
The two outside stones are nicely set and the tip of the Tube-Setting is hammered at a slight angle...but never hammered Flat.
In this photo, you can see where the angle is being hammered.
There should not be any space in between any of the stones. Not one millimeter is allowed.
Don't flatten the metal on to the stone, we need the thickness for later.
You can see the name of the stones, the name is "SWAROVSKI".
Around each of the 3 stones has "Bright-Cutting" that has taken place. This is what makes my Diamond Setting 100% perfect, I don't settle for mediocre setting techniques.
Now all three Bright-Cutting procedures has taken place.
In between the 3 tubes, I've cleaned all of the settings.
The three walls are equally filed and neither is one wall thicker than the other.
If I'm using my Triangular file, I've marked them with lines. These lines relate to the grit of each for easier identification.
This 'cleaning & setting' is starting to look great, agree? But we haven't finished yet.
I'm using only my Onglette #2 graver to do the cutting. It is imperative NEVER USE A FLAT GRAVER ON CURVES.
I polish my graver on a fine #800 Polishing Paper.
You can see the curl of metal as I'm cutting around the inner walls.
This setting project is not easy, as there are many chances in not succeeding in setting these 3 stones in one ring....Gerry Lewy.

%20(1).JPG)


.jpg)
%20(1).JPG)
.JPG)
.jpg)
.JPG)
.JPG)
.jpg)
%20(1).jpg)
%20(1).jpg)
.jpg)
.JPG)

.JPG)
.jpg)


.jpg)


.jpg)
.jpg)


