In this spectacular essay, I will explain every step of the process, from which graver to use. Then further how to carve the metal into preparing the very important 'mini-claws'.
The mirror image was projected on the line cutting by the highly polished Flat graver #40. There is no possible way that these metal cuttings were fashioned by a rudimentary basic graver. This is not an easy technique to master.
No 'CAD' was used in this essay, also known as 'Computer Aided Designing'.
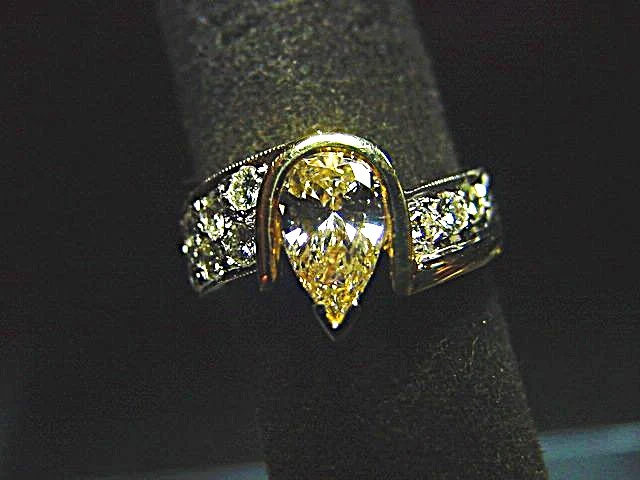
Once the 'beads' are formed and pushed over the stone every bead must be burnished smooth. I usually "Milgrain" the edges to emphasize the pattern.
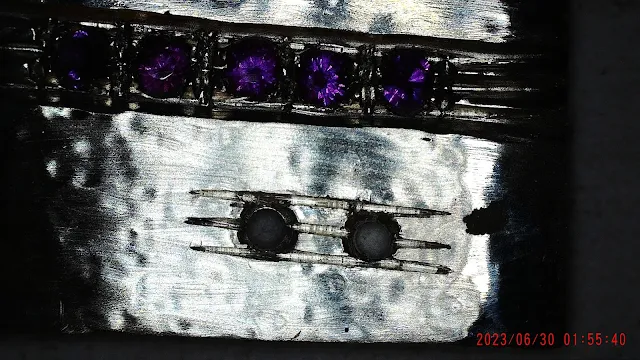
These 3 lines are the beginnings of mini-claws. The only blade that will initiate these mini-cuts is the Onglette graver #1, please do not attempt any wider blade.
After numerous graver cuttings that are 'deep and deeper' still, you are getting the idea of how these mini-claws are starting to take shape.
If your holes are drilled too far apart, then it's nice to have extra claws fashioned as shown in this photo.
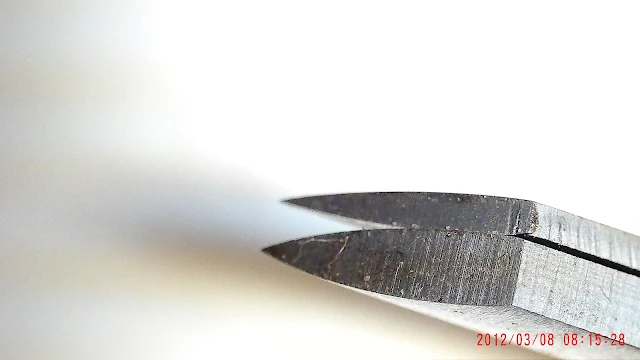
This is my favourite Onglette #1 (thin) graver. The HSS signifies that this blade has been 'heat treated' to be a long-lasting graver, "High-Speed Steel".


.jpg)
.jpg)


.jpg)


.jpg)