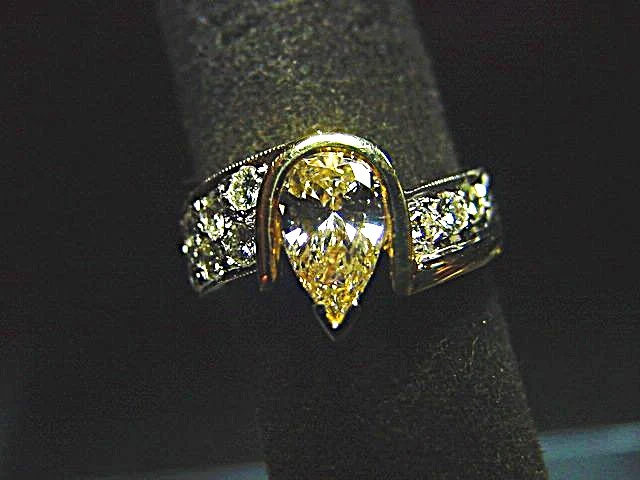
I estimate this is one of the 'best' methods in setting an expensive Pear-Shaped Diamond.
1) There is a very secure "V" shaped claw protecting the point of the stone.
2) The Bezel is well protecting the curved area of the diamond. This is very important.
3) Much of the curved girdle of the diamond is also well protected.
4) How is the Pear-Shaped diamond set? When I prepared to set this stone, I placed the stone inside the bezel and scribed 'two little' marks. These little marks were the guiding spots while I was preparing a seat for the girdle. Why did I do this 'preliminary scribing'?
5) I didn't want any unnecessary 'bearing cuts' to be exposed. Basically, all I will show is the 'shape of the stone' laying against the Bezel Wall.
6) Finally, I wanted the Bezel Wall to remain clean and without any extra lines of bur cutting.
7) I emphasised that the 'metal over the curved areas' of the stone should offer me two things. "Security". The additional security is with the help of the "V" claw.
8) There won't be any breakage during the constant wearing of this ring.
9) I "Bright-Cut" the inside of the Bezel and the V claw, why? I want the wearer of this beautiful ring to appreciate the high quality of Diamond Setting.
10) The amount of Bezel metal around the 'Girdle' must not be thin, but nice and thick. This is displayed in the photograph shown below.
Now compare the setting of the Genuine Emerald that I wrote about on January 27th.
No comments:
Post a Comment