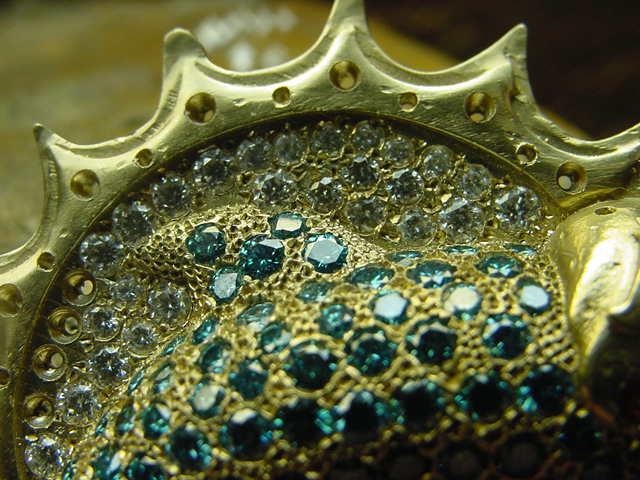
While I was just reviewing my library of "Diamond Setting Essays", I came across a monumental array of important Diamond Setting files. Even I was amazed at how many I had in this one folder.
These files are dated (from 20+ years ago) but still so very important to you, even in today's world. With every photo, as before, I will be explaining all of the techniques involved with each photo.
This 'first collection' has only 22 photos.
===========================================
This pendant was like a "bowl of diamonds". All I had to do was bead-set them, along with a few more on the outside 'lip'.
.jpg)
These little "squares" that were designed were planned that way. How could I manage such ornamental cutting, if the stones were already set?


It is here that I pre-drilled for the Pavillion-cuts of the diamonds. At the horizontal bars is where the Flat graver will have a chance to create beads.
.JPG)
This "MIAMI-DOLPHIN" clearly shows the many sizes of Diamonds. It also clearly showed the (rudimentary) CAD lines in the pattern.

.JPG)

This process of setting is named "Shared Claws". It's where one bead is sharing two stones. Please use a bud-shaped bur to separate the mini-claws further. The fast-rotating bur cleans the metal with equal opportunity.
.JPG)
These .15point diamonds were held into place by having the claws bent towards each other. They must not be moved at an angle.

Do you notice the very thick Girdle of this diamond? I didn't use my HSS bur or even the 156C bur to make any bearings. The reasoning is that those two bur shapes were not for a thick Girdle stone. I used a Bud-Shaped bur instead..JPG)
This CAD casting was a great opportunity to keep the setting processes alive! Even when after 20+ years I can still remember the setting techniques.

Those 'blue' spots were marked as a guide prior to drilling on that
recessed area of the nameplate.

.JPG)
With those "ink markings", they gave me a guide & location to drill holes for the many Rubies. 


"G - L" are my initials, I set those gemstones just to make it look cute!
.JPG)
"Eye love you", I had to avoid any line cutting, just using beads that were pressed down into the metal. The client created the outline on his disk.

.JPG)
Then a "77B" Cup-bur will round off all of the claws. Option #2, is to cup-bur the tips prior to the setting process.
.JPG)
These are my assortment of burs just to turn this ring into a smooth textured surface. The large Bud-Shaped bur is used ONLY to open up the hole for the stone Pavillion.

For a ring box, I planned to use a "Rose-Wood", why this colour? Planning and buying a box is necessary for the gift-giving process.
.JPG)

For a $10,000.00 ring, what's wrong with a $15.00 gift box?
DON'T BE CHEAP or dollar foolish.
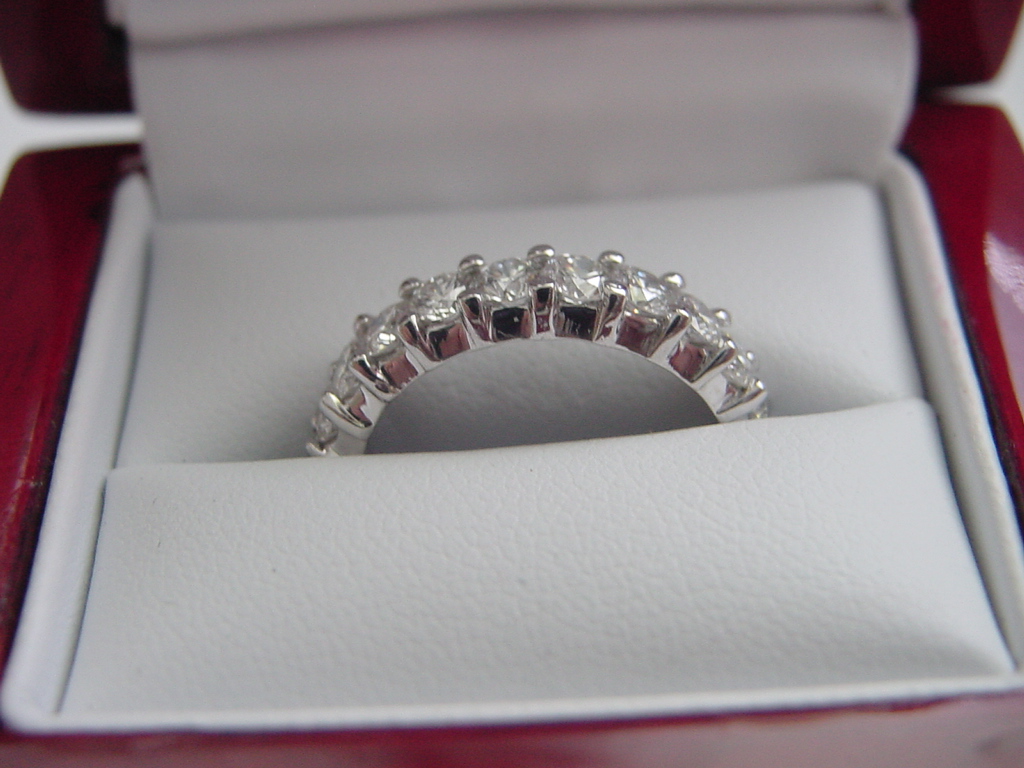
Imagine setting Princess diamonds, but 9 of them in one ring, with mini-claws? What were the problems?
How about 9 diamonds with 4 claws each with 36 chances of either 1) Breaking the claws, 2) Chipping the stone corners, or even 3) Setting any stone crooked?
What about attempting to Bright-Cut the inside of the 36 walls of the 9 squares? This was a Difficulty Scale of 25 out of 10.

Experiment with other setting options and remember them for future reference.
.JPG)
I examined the sizes needed for placing the stones in the correct position. The code was the biggest stones of either colour went into the corners of the delicate pattern.
Along the four walls, I chose to make little mini-beads to hold the stones in place. There were basically 2 mini-claws per stone, along the 4 walls there was ONLY ONE. I examined the stones by size for all of the four colours. Delicate sifting.
.JPG)
This was an easy project to work on. Two bead-claws per stone plus a gentle Bright-Cutting around the Double-Triangles, Princess and round stones.
.JPG)
I Bright-Cut any straight line along the edge. Rough castings are not permitted, this process makes the lines more clean and better well-defined, agree?
.JPG)




.JPG)






.JPG)
.JPG)

.JPG)
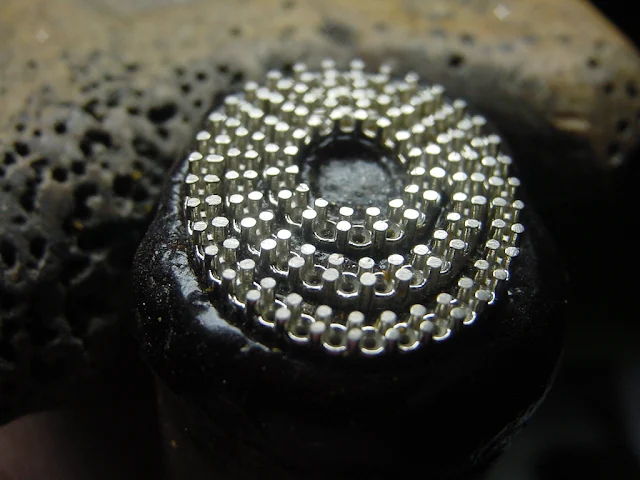
From a blank flat plate of silver. This cutting made 4 little beads for EACH stone, an edge for Milgrain and separated the new row of holes for stone setting.

All of the cutting and creating patterns were made before any stone got into the metal. If the stone went into the metal first, there wouldn't be any opportunity in creating any highly decorative cutting in between the holes.


===================================================
Here is another assortment of 30 photographs.

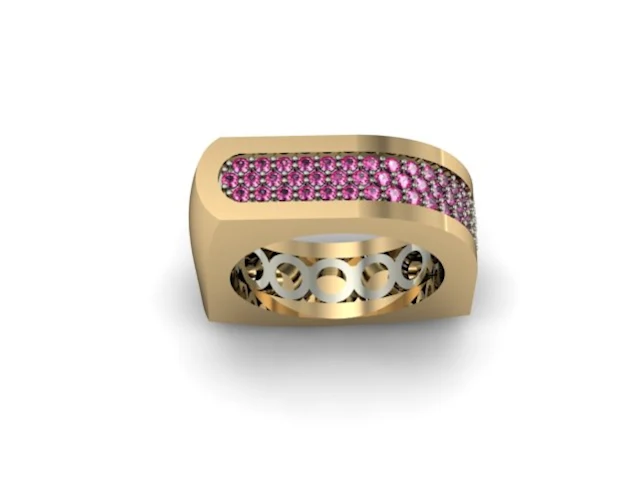
This was a 3 piece construction to make this ring. I chose to make the inside Azure plate of "circular rings" of another colour. You can do the same, just use your imagination. I chose Rubies mixed with Rose-gold, good idea?

Any, or all of the inside of Channel Setting items should be Bright-Cut!!!
Don't use any sort of a file. The serrated edge will leave marks inside the Channel Wall, thus leaving no opportunity to get it highly polished.

The inside of a Princess Bezel MUST ALSO BE BRIGHT-CUT. Could you tell me how to make the End-Bezel shiny? It won't and it can't happen.

All of the pre-cutting must be made before any stones ever get set. This will give you, the setter, a greater opportunity of digging deeper into the metal.

As in previous styles of "Fancy-Cut" stones, PLEASE DO YOURSELF A GREAT FAVOUR AND BRIGH-CUT inside of the Bezel-Frame.
This will turn this setting process from a mediocre setting, to just BEAUTIFUL.
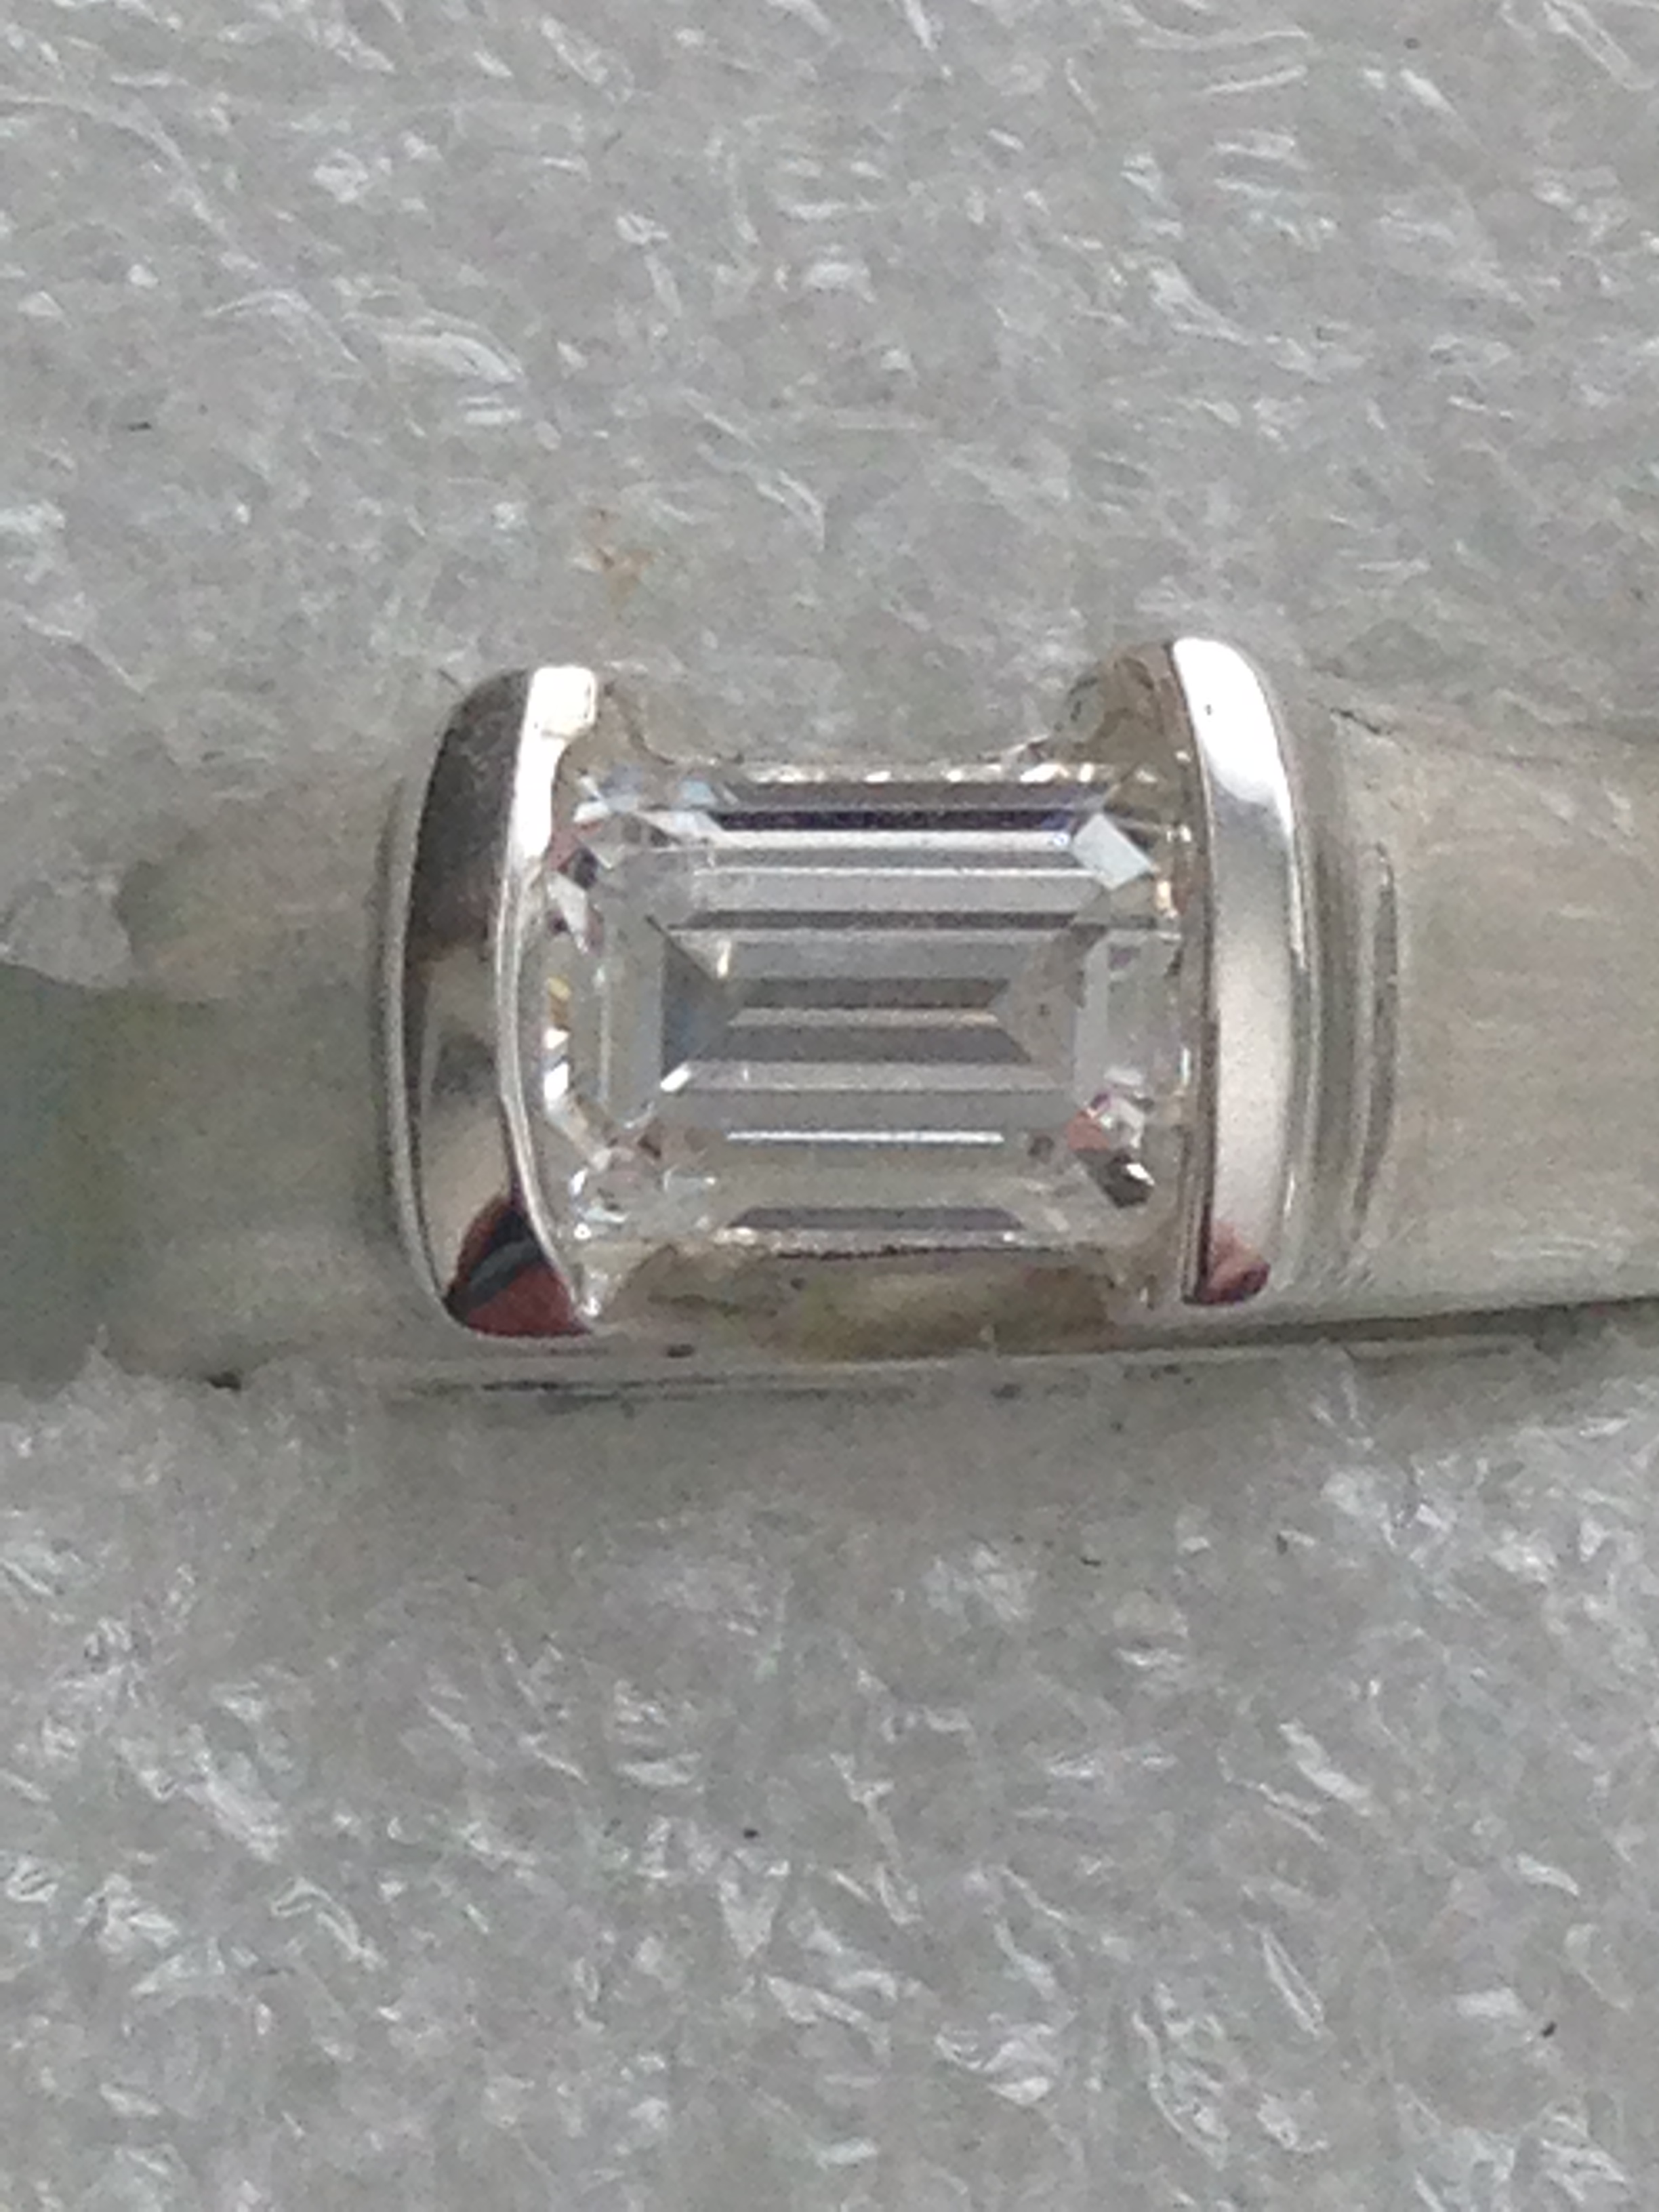
This great looking pair of cuff-links & tie-bar from a basic looking casting into the following (shown below).
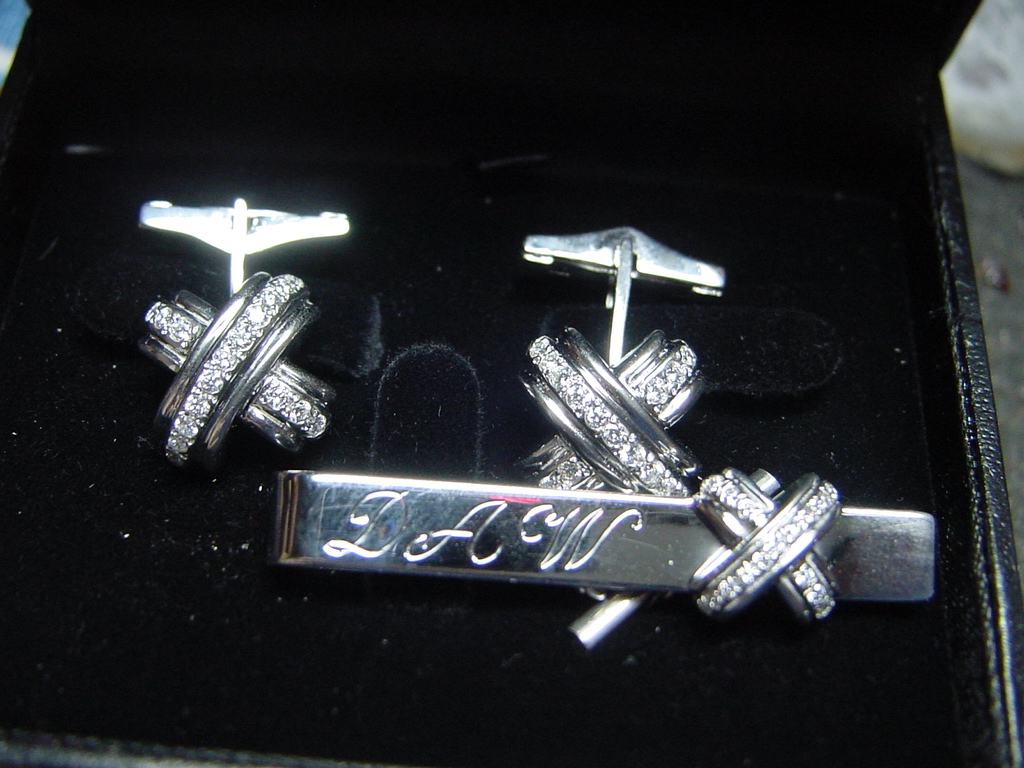
Here was the beginning of the process starting from a rough casting, to the better view shown above.

These are my gravers, much of this setting could not accomplished without both #1 & #2 Onglette gravers being used.

If I'm to use my steel mandrel, how am I to hold or secure it to my bench. The answer is easy, why is this? On the end of almost every steel mandrel, there is a deep hole.
Place that hole inside and against a nail, or a 'used' bur. Then you could use that as a "third hand". You could do that by using your Reciprocating hammer.
.JPG)
===============================================
Here are a group of (necessary) photos for you to see and eventually copy.
From a CAD-designed ring, I photocopied many views of a few ornate rings.
This particular setting on the mount had "Shared Claws" all the way around the band. I see that this would be a major problem for the wearer. I wouldn't have the claws digging into the underneath section of the band, I'd call this very poor designing.

This ring had two "Trapeze-shaped" shoulder stones, a "Princess Centre" and multiple small round-shaped diamonds.


This is a very interesting Azure design pattern, all of the underside of the mount is nestling against the finger.


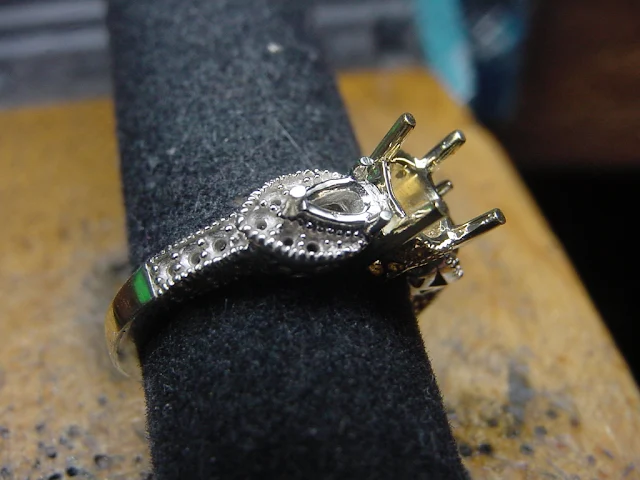
This particular ring has diamonds set into the claws. This could lead to some setting problems as which diamonds to set first and what about the main Blue stone?
I had have the multi small stones set first, then work with the bearings in all four claws. I would BEFORE SETTING THE SMALL STONES bend the claws, then the four claw-tops.
I'd put in the Blue stone against the bent-over claw tips. Then afterwards, GENTLY set the Blue stone to have it secured.
Don't put any slightest pressure against the soft Blue stone, this could lead to breakage, or chipping.

It is very difficult to bur away space to the claws after setting. That is why I chose to do this "spacing process" before setting of the stones.

As this item was a CAD-designed pendant, all of the claws are of the same height & thickness. I'd have more space in between all of the eventual setting of the stones. Please do this now, and not after setting.

This is my 'best' metal pusher, BRASS is quite soft to work with the gentle stones such as Diamonds, or the above mentioned Blue stone.

Additional notes on "Florentine" engraving.
Always "cross-cut" your engraving on an angle & along the wedding band, or what ever you are using.

You can see the two numbers on the graver "28 & 8" these numbers these numbers represent the width in 8 lines on the graver.
The number 28 is the (SQU) number. The "12" is a rather fine width to work with. (The choice is yours as to what width to buy).

You can see BOTH GRAVERS AT WORK ON THIS ONE RING. I separated the two sections with a fine "Bright-cut line". It looks better and much nicer this way to segregate the two engraving sections.

Florentine cutting are not long lines in the metal, but a series of "short bursts of cuts" on the metal. This is more advantageous to you while cutting on a 'domed ring'.
.JPG)
Start your cutting at the center of the Domed Ring on both sides of the work of the dome shape.
.JPG)
This ring had a multi-use of "Fancy-Cut" stones.
I'd set the 1) Straight-Baguettes followed with 2) Princess set stone, 3) Then the Center Gypsy stone.
The reasoning is that you don't want any burs cutting or damaging the other (delicate) settings.
For your ongoing setting information; I'd prepare the bearings for all of the stones then at the last point set all those stones.

All of these rings were done in accordance with finishing my Diamond Setting with absolute quality.
There were three things I tell my clients:
"SPEED, QUALITY, PRICE: Pick TWO".


.JPG)
.jpg)