Wednesday, 29 January 2025
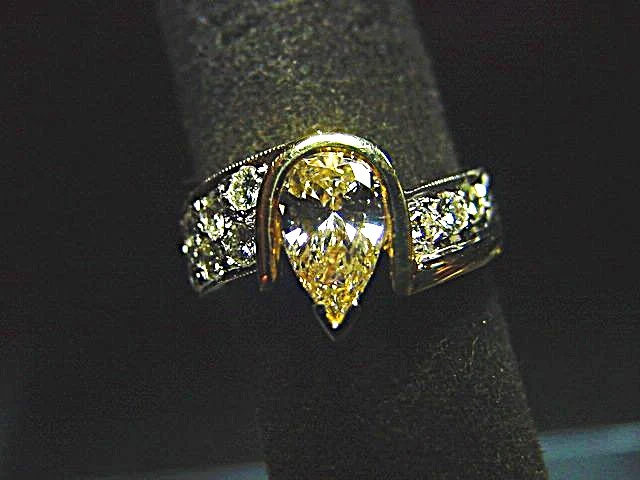
BEST method in setting a "Pear-Shape Diamond" ring. => 1 photo.
Monday, 27 January 2025
Errors in setting this 'Pear-Shape Emerald'
There are many problems in setting this expensive Pear-Shaped Emerald. I will go by numbers and give my reasons. As a Diamond Setter for only 65 years, I've come across many techniques that this particular ring is lacking.
----------------------------------------------
1) There are 'no means of protection' in guarding the point of the stone from being further damaged. Already I can see a faint 'rounding' at the Emerald point. This 'absence of protection' is an expensive error in the design.
2) The wearer will have a tough time preventing further breakage from taking place.
3) The point of the Pear Shape will cut into the skin of the finger.
4) To protect further catastrophic breakage to occur, there must be a "V" shaped claw at
the point.
5) The '4 claws' are too short, thus having no means to protect the stone from further damage.
6) The '4 claws' have not been 'rounded' at the tip, thus leaving sharp edges, why?
7) All claw tips must be 'rounded & smoothed' and not be left in the 'condition' as being seen here.
8) If I was the retailer or fashion conscience wholesaler, I would never let my client take this ring out of my office, or store. There would be instant 'negative feedback' from the new client.
9) The 4 claws were not trimmed or completed in an orderly fashion. There are extra slivers of metal on 3 of those 'mediocre' looking claws.
These comments are just my own personal thoughts when I saw this photograph. I am very sure you have learned much from this tutorial essay.
"Gerrylewy18@gmail.com"
Saturday, 25 January 2025
What do "Shared Beads" look like"? => 17 photos
In this essay, I'm showing what "Shared Beads" initially look like. Many of these photos explain how they are 'constructed and spaced' in the metal.
These are not "CAD" designed and created, but by using 'mini-claws'.
I'd avoid using my Onglette graver to create beads as these wouldn't be strong enough. I chose the uniform protection & strength of large pieces of metal, aka claws.
It is here that there is uniformity in the sizes of these 'strong' mini-claws.
It is your choice to apply a 'Milgrain' edge, I'd avoid this step, as it doesn't enhance the overall design.
Wherever there is a 'step' in the angles on the ring (as shown), follow it through with the metal cutting. I avoid making a 'curve' out of an 'abrupt, sharp step' design.
Once the stones have been well spaced, it is now easy to start the drilling of the holes for these stones.
Thursday, 23 January 2025
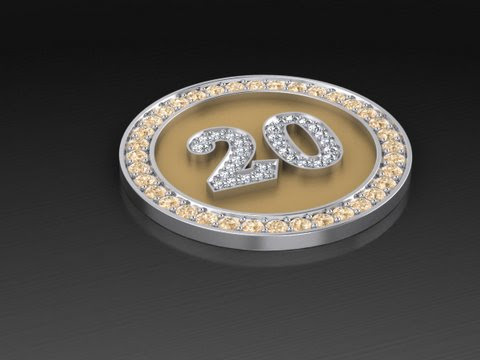
Gemstone Studded => "CAD" created Poker-chip disks =>30 photos
Wednesday, 22 January 2025
New video worth viewing on "GRAVER SHAPING".
https://www.youtube.com/watch?v=LPVXSJjmaqc
Here is a very important video lasting 15 minutes, it is about "Graver Shaping". This video was filmed at the "Ganoksin" offices many years ago and I just located this video and had the video link repaired.
"Rio Grande" and "Ganoksin" were instrumental in putting all of the graphics, text & spoken words together for this film.
Many of my own photos were 'edited & spliced' into this film to make it even more appealing.
(If you are having any problems in not being able to access the video. I suggest that you retype this video link exactly as shown above).
.jpg)