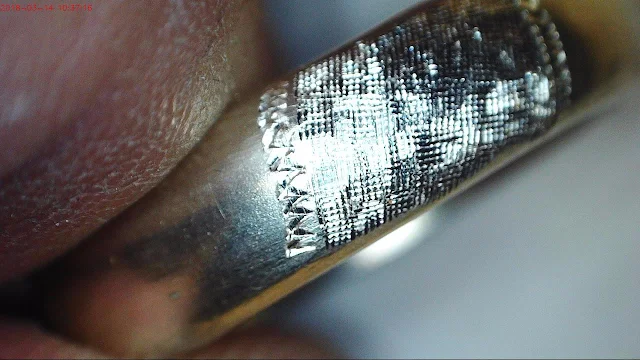
In the past months there have been many jewellers accessing this topic of using a Milgrain tool. In this visual essay are additional engraving results.
Please enjoy these views.
I wish to make your life more manageable by reading this tutorial-blog.
====================================================
The use of a Milgrain graver should not be dug deep into the metal. I found by my own use that the graver only lightly cuts into the surface. BUT NEVER DIGGING DEEP AS TO RUIN THE 'DESIRED EFFECT'.
The scoring of the graver should only leave "cross-cutting". The resulting action is shown in the following photos.
At the end of the graver cuttings, a line should be created as the Milgrain should 'finish' at that point in the "working area".
This graver is named "10-6". as it is 6 lines WIDE and a width measurement of 10.
Your graver cuts are always done at an angle. NEVER AT 90 DEGREE ANGLES, the results are shown in all of the photographs.
Your graver must not have a thick "face" as seen with the arrow. It should be held in your wooden handle and letting the action of the graver to do the cutting. NEVER DIG DEEP INTO THE METAL. The whole purpose is to "scribe, or engrave the surface".
If you are setting stones around the opening & periphery, you might have to recut the surface of the metal. DON'T BE ALARMED, you haven't ruined anything. PRACTICE THESE RECUTTING STEPS, this is for your benefit!
My email address is: gerrylewy18@gmail.com


No comments:
Post a Comment