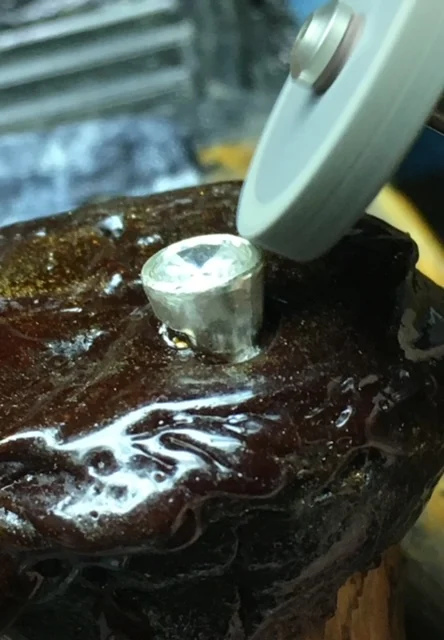
When you are finished with your Mini-Tube setting the next step is to file around the top of the Bezel. This is where the Riveting Hammer made contact with the Bezel frame.
It's not a good thing to see if there are marks on this Tube'.
The first step is to use your Triangular file of a #4 grit and smooth those 'hammer indentations'.
At a preferred angle of 45 degrees (please) use your Pumice Wheel of #180 grit and smooth more of the file markings.
The next step is to use the Pumice Wheel of #1,000 grit and again 'buff gently' any remaining areas of the Pumice Wheel that you just used.
We are starting from a file to a #180 grit and now we use an even finer selection of polishing wheels. There is no need for a cloth polishing wheel anywhere on this mini-Tube setting.
REVIEW FOR THIS "MINI-TUBE" SETTING ESSAY.
Here is the 'coloured ink' being applied to the rim of the Bezel, before any sort of hammering has taken place.
You can now see the shiny surface of the "Rivetting Hammer". If there were any marks on the hammer face, they would be transferred to the Tube thus making it difficult to remove.
This is the last photo showing the display of the 'cleaning process' while the Tube is still on the shellac stick.


No comments:
Post a Comment