This essay is an important REVIEW of what takes place to make NEW engraving tools.
This photo displays a FLAT graver as all of my gravers are composed of "HSS" (High-Speed Steel). The number #10 signifies the width of the blade.
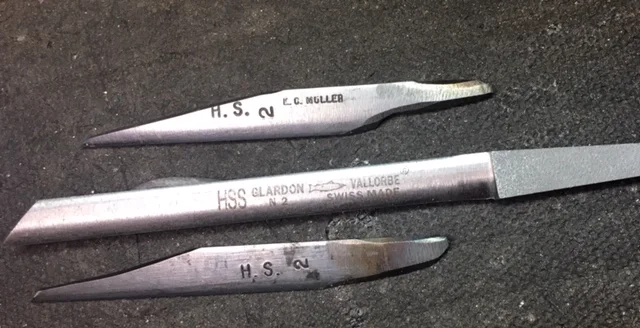
This is an Onglette graver (#1) thickness, that was just bought from a tool supplier
I use only two styles of blades to cut into any metal, an Onglette and a Flat blade.
Once the beads were created, I started to set a few of the synthetic stones. The process is named 'Pre-Cutting' where all of the metal shaping & carving was done long before the various stones went in.
My bench-grinder has its own set of rules, here they are for everyone to read before turning on the "Start" button. In Canada, we use both English & French for instructions.
When the blade is finally shaped, then comes the polishing of the blade, which is so very important. I rub a soft pencil into the pores of the paper just to give the steel a higher resolution in the steel.

This oilstone must be kept well lubricated with oil at all times. It's important to run your graver on a lubricant and never have the oilstone get dry.
The little remnants of steel from the blade need to be removed continually. I use a fine liquid that keeps the steel held in suspension and then removing it with a magnet.
The long shaft of the blade is nicely fitting into the handle. Only the exposed blade is used in metal cutting.
You might think that these 19 blades are now useless. This is not true, as once the blade is in the extended handle, it can be used for many weeks or months to come.
The right side of this graver is now named "Right-Sided, Onglette #2, Bright-Cutting blade". This is a long name, but the work that it does is just phenomenal. I know!
These are my 'metal cutting companions'. I work only with these 3 styles of blades.
The Onglette #2 blade has a greater curvature to the blade. Because of this, there is a greater curving effect given to the metal line of cutting.
I am reluctant in using a thick Flat blade as seen in some videos. For the past 65 years, I prefer a blade shaped similar as seen in this photo.
This is the epitome of a correct "holding technique" given to the blade and to the Polishing paper. You can see that I never use any rotating blade to polish my gravers. There is absolutely no need to spend mega-dollars on something so unnecessary.
My 'polishing sticks' do all of the work for me.


No comments:
Post a Comment