It's the 'Roll of the Dice" when these holes are accurately configured, or Bright-Cut.
=========================================
The only graver-tool that I will use in this exercise is a Flat Graver, #40. All of these cuttings were not with any "Computer Aided Design" (CAD) assistance.
The "Rate of Difficulty" for this project is 8.0 out of 10.
When you select the stone size, or colour. It's easier to also decide where each stone should be located. Each hole should be drilled to the exact size of the stone, from this the Bright-Cutting will then commence.
.jpg)
The most difficult aspect of this cutting is to have a good-to-great skill in using your Flat-graver. (This project is not for the absolute beginner).
The first is to open up the hole to accommodate the Pavilion of the stone.

If the stone is too deep, then please select a much shallower stone. This could be a major problem if the metal is too thin for any Bright-Cutting.

If the dice is small then select a smaller stone, it isn't appropriate to have a large stone in a small dice.
Everything has to be in proportion to the size of stone and the dice.

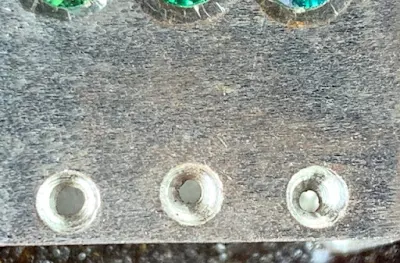
All three of the holes should be uniform in size to the stone.
It is advisable to have the stone(s) sitting lower from the surface of the metal.

All of the borders must be equal to each other. I'd use a 'pair of dividers' to measure the distances from the girdle of the stone, to the edge of the dice.

This is a bad stone selection, no comments further here!

For this display only, I made a variety of mistakes in the the metal cutting. YUK!

Many stone borders were Bright-Cut too narrow or even too wide.

The stone sizes were accurate, BUT there is a 'rippling-effect' in the metal cutting.

This is a '2 of 3' in cutting, the borders are nice plus the stone separation is also good. The stone border on the left is not fully acceptable, pity!

I'd prefer if this stone was set much lower, with this 'stone-sitting' the chances of a good metal cutting is minimal.
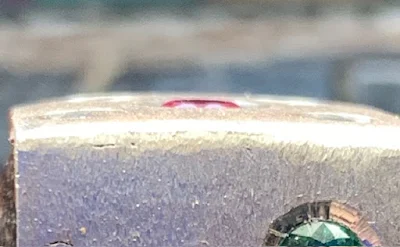
The stone selection is not too good, as the Table of the stone is too high to the surface of the dice.


This is to show the flare of metal is being created during the "Bright-Cutting" process.
This is another photo of the 'sliver of metal' around the hole of the stone.
Here is the Flat-graver doing it's cutting right at the edge of the hole.
This is the epitome of Bright-Cutting, the metal is 100% BRIGHT. Remember, that all of this cutting is done by hand and not by CAD.
I used this hand-held, mini-polishing shaft to highly polish the metal.
This is 'near perfection' as it comes in regards to the stone-to-hole borders, Bright-Cutting and spacing.

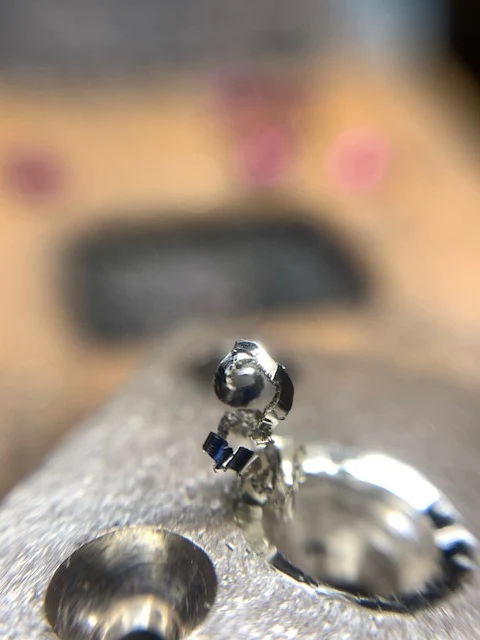
I used my Onglette #1 graver to create a 'little hook' to secure the stone in its setting.

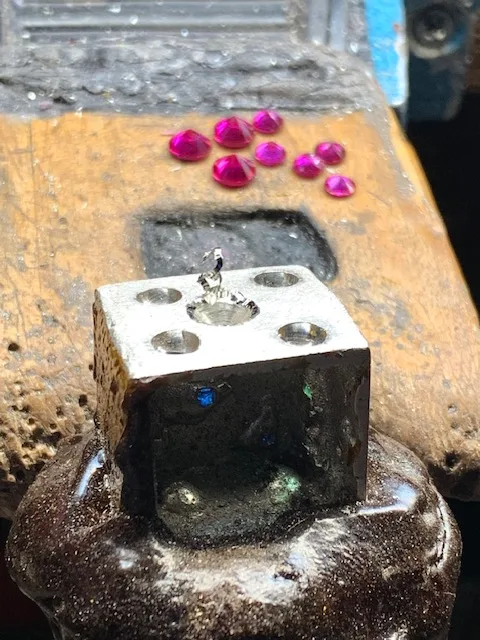
I laid out the sizes of stones with the shading of each of the stones. The Blue stones were a bit difficult to deal with.

This is the size of the dice in proportion to my box of burs.

Here you can see the little 'hooks' in the metal to secure the stone.

This is the ultra-close-up of these 'hooks' as they look.

Bright-Cutting is NOT the most easiest thing to do in Diamond Setting, as it takes much practice.

Anyone can set Genuine Emeralds in these dice, BUT THEY MUST BE SET LOW in the metal.


If these stones were set lower, as the 'walls of the cutting' could have been much wider.

To achieve this skill of Bright-Cutting, all it takes is a FEW YEARS OF PRACTICING, then a few more years to improve this new skill.

This is why all of this setting has taken me ONLY 14 YEARS to learn and perfect..jpg)
.jpg)

===================================================
(and a few) WAX DICE

With these few (roughly) carved waxes, then off to the caster they went.


No comments:
Post a Comment