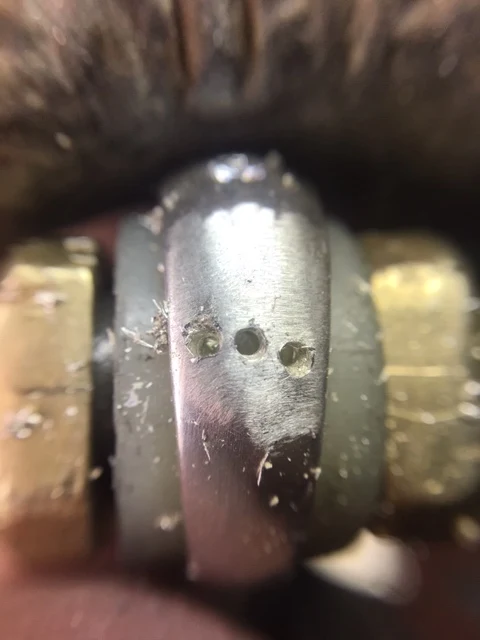
During my apprenticeship, one of my earliest recollections was being asked to cut a '3-stone pattern' into a wedding band.
I learned from 'doing it', not by books or videos. In my beginning years, we never had videos or the internet these difficult techniques were then entrenched into my mind.
=======================================
The first step is to drill 3 holes into the wedding band at an angle of 30 degrees. This is the very first step in creating this pattern. For your information the 'Difficulty Level' in creating this pattern is about 8.5 out of 10.
I used a 'marking pen' to draw the many lines on the surface. This was to guide me and my gravers, even today I'd use this method acting as a "GPS" to the metal.
In between the three holes, I'd cut a little "0+0 " pattern. This pattern will be then creating the new 'pseudo-beads'.
At the end of the 3 new holes, I'll use my Onglette graver #1 to create 3 beads in the pattern seen in this photo. This is not regularly the 4 beads that are normally seen everywhere in Pave setting.
When the first cutting line is started, I will and must recut these lines DEEPER. These lines are my way of initializing the first steps for Bright-Cutting, starting in a few moments.
The Onglette graver #2 cuts are the next step in preparing this new design. The graver must not leaning on its side during the cutting process.
To make this clearer, this cutting has one purpose and that is to cut a pattern as seen in the next photo.
The "+" pattern in between the holes that was shown previously, actually gave way in creating both 3 and 4 beads respectively.
I decided to Milgrain the edges of the pattern, why was this? The wearer can then see the angles and the cutting more clearly.
If you wish to use your Flat graver #40 (width) allowing more emphasis on the cutting will be acceptable. But the outside line shouldn't be Bright-Cut with your Highly-Polished Onglette graver nor use your Flat graver. It should be used only as a line of shaping.
When the stones have been set, please use your Bead-Burnisher and 'round off' the tips of each new bead.
These two blades are showing the 'before & after' from the Bench-Grinder shaping processes. You can see how detailed the point of the graver that has been shaped on the rotating grinding wheel.


No comments:
Post a Comment