Bezel setting is one of the most rewarding gemstone setting projects. After a short 20 minutes of stone setting, a beautiful ring will emerge to be worn with pride.
I use a "High Speed Steel" bur that has it's course teeth cutting into the metal. Carbide teeth are too fine and not giving me the appropriate cutting action.

You can see just where the HSS teeth were administering their cutting action. The bur has just started to cut just at 1/3 depth from the bezel top. The top 1/3 will be used for the hammering and filing areas.
You can see that the Pavilion (the bottom area) of the stone will be resting in to the ring. I ask that you use a round bur and make that circular cut wider, as to allow for the width of the girdle of the stone.
Place the stone into the ring and make sure that the stone isn't rocking on any areas of the inside frame. THE STONE MUST BE SITTING FLAT (and not moving).
I use a pair of pliers to 'crimp & hold' the stone in place ONLY for the hammering process.
I always want to have the stone well centered in the bezel. The best way is to examine where the Culet of the stone is positioned in the round bezel.
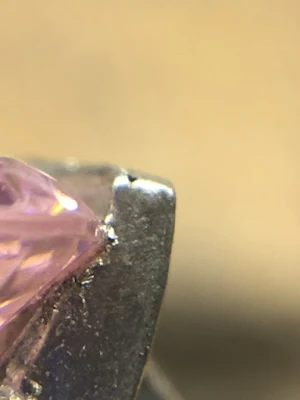
There must be enough metal of the bezel-rim to envelope the "Crown Facets" of the stone. Remember, that if there isn't enough to your liking (as shown) the hammering will move more metal over the girdle for you.
The hammer hammering will do two things here, (1) to press down all of the metal. The next is (2) gently move the metal in to holding the stone tight. The hammering angle MUST BE ALWAYS AT A => 45DEGREE ANGLE.
Where you did the hammering, the next thing to do is to smooth the hammered surface FLAT. I'm using a Pillar file with a #1 grit, #2 is too smooth. This filing only removes any marks and indentations.
For the cleaning processes, I suggest in using an Emery wheel of "Medium" grit to clean any marks from the hammering on the outside of the Bezel frame.
I always use my (semi-soft) Pumice wheel of #240 grit to start the smoothing processes. Then followed with a (Pink coloured) Pumice wheel of #1,000 grit.
If you use a cloth-wheel from your polishing machine, all of the carefully created angles and facets will get quickly ruined.
To clean the inside of the Round Bezel is easy, all you need is an Onglette graver that is polished on one side with polishing paper of #4/0 grit.
This avoids any using of filing or additional pumice wheels. This graver-cleaning gets into areas where other implements are difficult to get to.
The inside of the Round Bezel as shown here is the 'rewarding' aspect of finishing this project. The Round Bezel "MUST BE PERFECTLY ROUND".
As an added photo, here is the hammering angle for an Oval stone in a Bezel frame. Every angle shown should be at a 45degree.

.JPG)

.JPG)
.JPG)


.JPG)


.JPG)

No comments:
Post a Comment