I've saved many views of these brooches before 'some' were dismantled and the metal was eventually recycled, just to save the diamonds.
My clients asked to do the most heartbreaking task of doing this while I had my downtown Toronto office. Suffice it to say, I took photos of every conceivable angle before I did these 'unspeakable' chores. My camera was an integral 'gem-setting tool' as I always kept my camera inside my setting bench.
Although some of these brooches pre-date the last century, I took all of these photos, circa 2001<=>2003 A.D.
The technology in those days was unbelievable and so refined. I think that these photos speak for the jeweller's hard work in the Diamond Setting "Bright-Cutting" process that ensued.
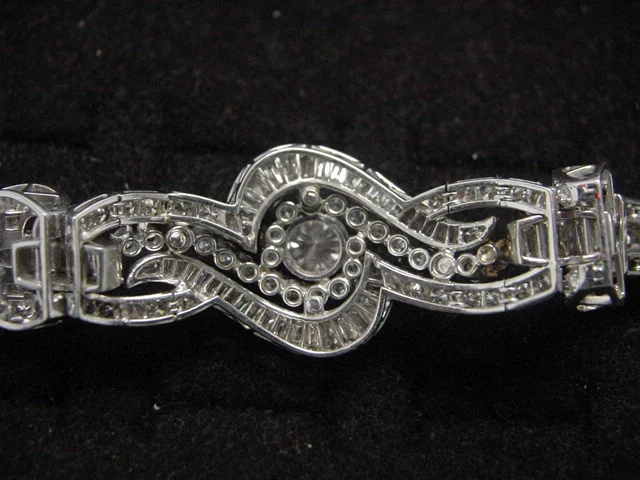
The fine and intricate work in cutting out the 'undercarriage' of the baguette setting areas. I believe that this was not cast, but cut out by a saw blade.
Look at the height of those claws, amazing? I have a solution to that question.
The baguettes were equally set with the agility of a fine-quality Diamond Setter. The mini-claws on the "X" link were hand-crafted from a flat plate. I've done this myself and this is not easy to learn, trust me on this point.
Even as I'm examining each photo, I am attempting to understand how these brooches were eventually pieced together.
The separation of each diamond section was with a thick saw blade, maybe equivalent to our #2/0. I believe that every individual post or claw was soldered into place. The metal carving was prepared before these claws were created.
For every baguette, there had to be 5-6 stones given to the setter to 'mix & match'. Remember that with a row of tapered stones there had to be many stones to 'have on hand'. I personally learned this process myself, about 65 years ago!
Two beads held this large "Mein-Cut" stone into place. Once the stone was permanently set, extra wire beads were created opposite where the two beads are positioned. These are just barely visible.
The 'claw settings' were attached after the fancy-cut Baguette stones were set. Metal polishing was imperative before any soldering took place.
The pattern was created in many flat plates of gold. All the setter had to use was his variety of gravers, nothing else.
These beads were hand-made using a specially designed graver named a "Bull Stick". I still have the one that my teacher gave me.
I made this brooch just to look like a butterfly with "Princess-Cut" diamonds. The oval pearl was found in South America and he brought it home.
I had the opportunity in working with the pearl owner himself before he died 7 months after this was completed.
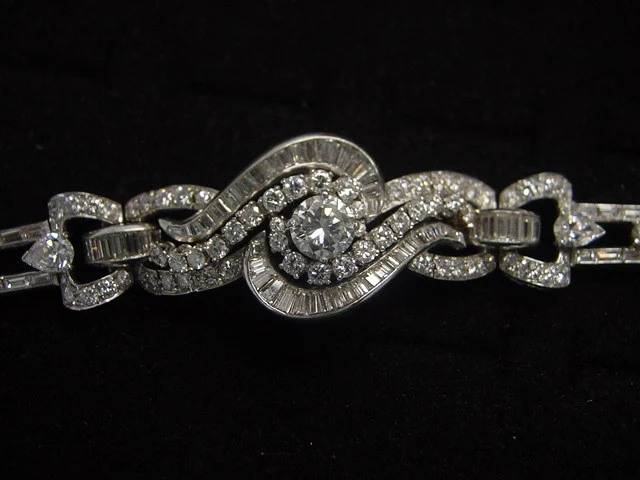
Each section was set with diamonds and then soldered together to make a bracelet.
All of these diamonds were "Mein-Cut" stones, that is these were all hand-polished and not by any computer-driven polishing wheel as of today.
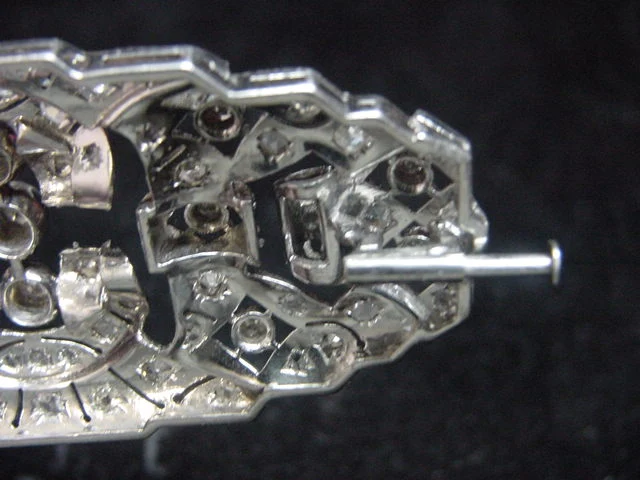
This sliding bar allowed a sharp pin to be exposed, thus giving the wearer a secure method of locking the brooch into her cloth.
The little 'graver made hooks' underneath each diamond can be seen. I firmly believe that the metal was made too thin and another process of preventing any diamond from getting lost.
Each segment that you see at the bottom of the screen, was originally a flat plate. The jeweller just drilled a hole and then used his saw-blade to create these segments.
I'm hoping that you can fully understand and appreciate the many long hours in creating these beautiful brooches. This was a study of a long-gone technology.
Gerrylewy18(at)gmail.com

.jpg)


.JPG)


.jpg)


No comments:
Post a Comment