"Shellac Sticks" were used by this Diamond Setter since 1963. Prior to this earlier date, they were mainly used to "grab & hold" onto items for setting. Although these photos have been seen in my earlier blog photos, they will still be used for complex and very wide jewellery pieces.
===============================================
This photo shows what the shellac looks like when bought from your tool supplier.
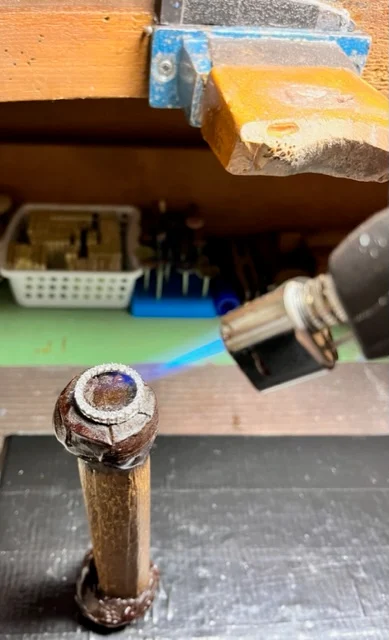
This flame is too intense and will 100% boil & destroy the new "Flake Shellac".
You only need to warm the flakes into a semi-liquid state.
When you need to "gently" remove the shellac from your item, just drop the piece into Methyl Hydrate into a jar. Afterwards, you could put this jar into your ultrasonic machine and in literally minutes everything will be cleaned.
The next large group of photos shows how this shellac stick holds your items.
On this one wooden stick, I formed two sizes of shellac. Each size is for different sizes of items.
Even on the large size of shellac, I can easily drill holes in any metal.
This stick has been 'my good friend' for (?) decades. If the shellac gets worn from constant usage, just break off the shellac and heat another new layer for your items.
Shellac can be used for bracelets or nameplates. It all depends on the wooden stick you eventually need. The wooden round piece can be put into your ring clamp.
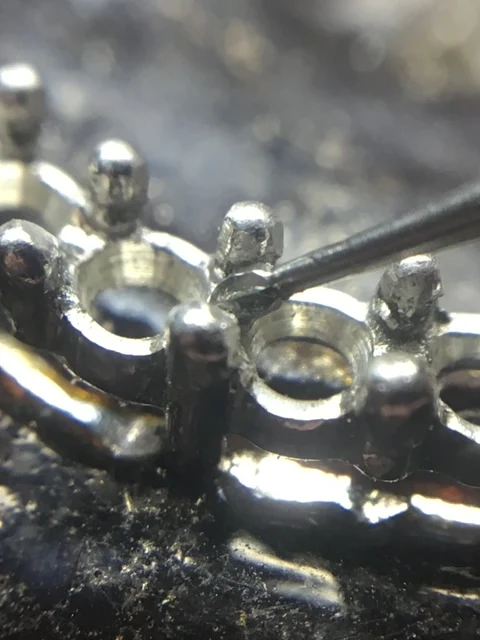
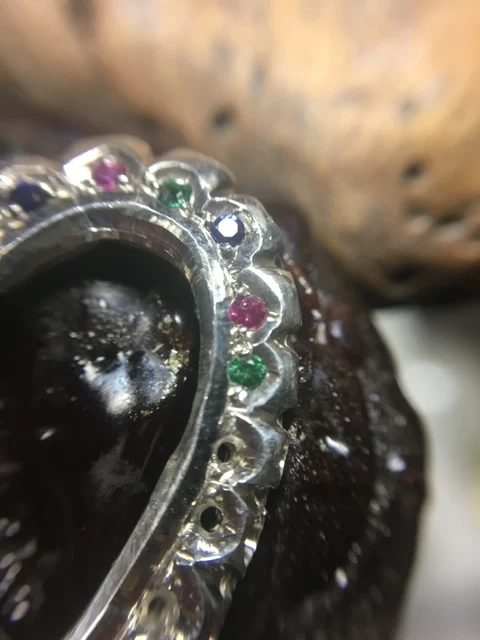
This item was previously set, all I did was add many more periphery stones.
I created the 'mini-claws' not by soldering or by CAD, but by drilling and splitting the remaining metal. (That will be another essay).
Now imagine if I put this large pendant on a large oversized clamp. There would be deep indentations everywhere. I and my client would be extremely angry.
The close proximity of the gold to the shellac surely solved all problems.
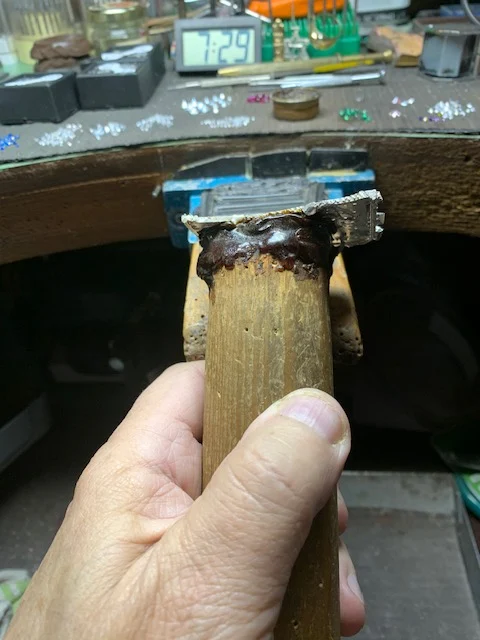
I needed to "Bright-Cut" all of the silver models prior to the stone setting. This shellac allowed me to circumvent any movement while using my gravers.
I kept the "casting gates" to be used as an anchor while I was graver cutting.
There was additional shellac underneath to give additional support if warranted.
This additional shellac was hot enough to "bleed through" the holes. This process gave me more support while working on this very thin plate.
In this photo, you can now observe that even drilling 54 holes didn't cause me any undo hardship.
Again, I used this shellac stick to hold this multi-stone pendant rigid on and in the shellac.
There would have been many problems if I used a mini-clamp, non-stop.
I counter-sunk each hole for the Pavilion for every stone and THERE WAS NO MOVEMENT THAT TOOK PLACE.
This holding process is even great for when I do my Pave cutting. Not once have I ever had any problems with having the shellac break away.
I like to mold the still-warm shellac around the wooden stick, why so? When the soft skin on the fingers grips the rough texture of the newly formed shellac, there are chances of hurting the fingers.
Here is the smoothed texture after I formed the shellac. DON'T LET THE HOT SHELLAC DRIP ON YOUR FINGERS. I still have the 'battle scars' to prove what can happen. Blisters were galore!
Even during intricate and extensive "Bright-Cutting" not once had there been any problems with any gemstone setting and graver cutting.
Here is the proof of why I prefer shellac over any other method of holding an item.
Even if I had the need to file an object, the results are g-r-e-a-t.
As in the previous photo, I have the option of heating this extra wide man's nameplate and repositioning it further. There could be many disastrous implications for my gemstone setting.
You can see just how close to the edge the shellac is getting to the rim of the circle of metal. I WANT THAT TO BE ON PURPOSE. I want total freedom to the cutting of the areas to be graver cut.
Get rid of those sharp edges, don't let those sharp corners cut into your skin.
Consider this shellac stick to be your new holding device. You'll thank me for this writing this essay.
gerrylewy18 @ gmail.com


.jpg)
.jpg)
.jpg)


.jpg)
.jpg)


No comments:
Post a Comment