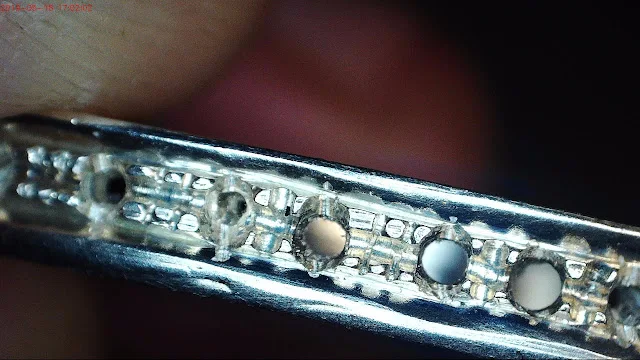
This ultra-small, bud-shaped bur measures only 0.55 mm in size. Now compare this to the larger size of 5.00 mm in diameter.
The purpose of these 'bud burs' will be decided upon by the jeweller or setter to consider.
The tools are there to 'pick and choose'. I always think that if one bur has been used only once, at least it's been a good choice in buying it, agree?
All kinds of metal cuttings can be delegated to an Onglette & Flat gravers. None of the flat surfaces has been computer-designed.
If you need to quickly reduce the thickness from the tip of this Flat graver, the easiest method is to use your 'coarse-grit' grinding wheel. It's far better than removing the whole blade and reinserting it back into the handle. I'll use this technique many times at a moment's notice.
Every graver point has to be highly polished and not have any 'textured surface'. These rough surfaces will reflect onto the metal surface.
What are these numbers, and what do they represent?
The "6" is the number of lines that will do the Florentine Cutting.
The "16" is the width of the and that is similar to the "10" being narrower.
You have to be inventive and choose which blade will serve you or me best.
As seen in my previous 'tutorial essays, here is my "1,200 grit" polishing paper being used. I will make an effort to make all of my blades 'bright & shiny'.
Here is a comparison photo of two Onglette graver blades. My choice will be using the graver on the left, as this is what will give me the best results.
.jpg)
.jpg)


.jpg)
.jpg)
.JPG)
.jpg)
.jpg)
.jpg)
.jpg)
.jpg)
No comments:
Post a Comment