The many reasons for using an Onglette graver are explained in this blog-essay
Let's start with metal cutting and progress further showing many techniques.
Not having or using an Onglette #1 graver can be very troubling.
------------------------------------------------------------------------------------
This particular tool engraves lines before any Bright-Cutting that has to take place.
Here are some interesting engraved lines all though 'very rough looking'. But in my mind, this cutting 'breaks the surface' of the metal and allows further Ongelette #2 graver cutting.
The Onglette graver #1 allows new fine-cutting to take place before any further cutting. In this photo, I wouldn't use any saw blade, but a graver will permit me to see EXACTLY WHERE EACH LINE WILL BE CUT.
I will control each cut, as a saw blade doesn't give me that option.
When I make the 'first cut', they are almost superficial and 'gently cutting into the surface'. I will again make additional cuts, but each time deeper and continue to cut the metal with a more direct series of cuts.
The second cut will be more precise than the original. No other graver will give me that option.
When you are holding your (sharp) Onglette Graver #1 the (razor-sharp) blade can easily cut into your skin. PLEASE USE A THUMB GUARD, as this will prevent any serious infections from occurring.
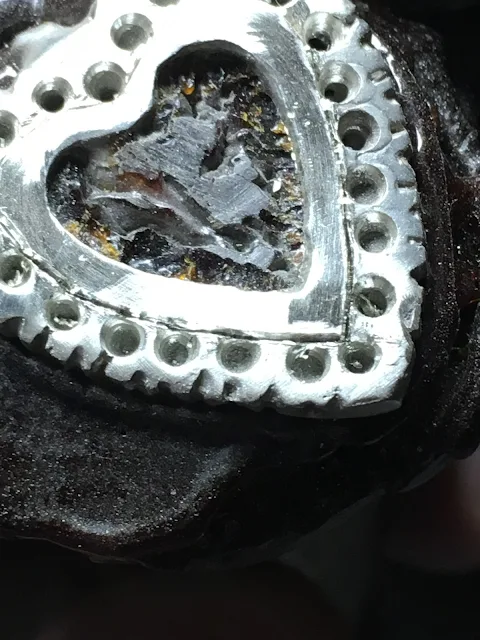
Upon looking at this CAD-created casting, there is no possible method of cleaning to take place unless the metal is (surgically) cleaned with your Onglette #2, or using a FLAT graver #40.
This photograph shows exactly 'where and how' the graver is to cut into the metal.
This is the closeup of the first series of cutting. The Onglette #1 is a fantastic graver, as its main purpose is to prepare for the many metal cuttings.
This is my very own "knife edge" graver, it is quite thin but it sure needs to have a "Thumb-Guard" during its constant uses.
You can see the shiny portion of the blade, that is the cutting section and it needs to cut DEEP.


No comments:
Post a Comment